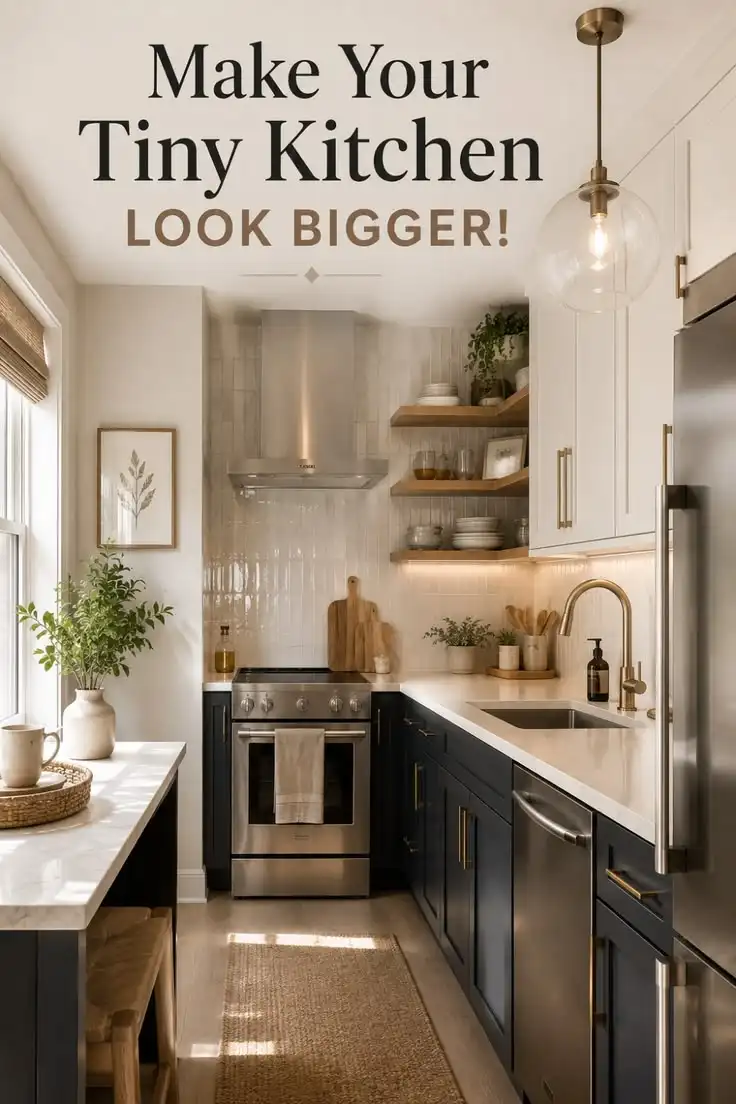
I’ve rounded up small kitchen design ideas that do more than make your kitchen look pretty—they can actually help the space feel larger and more functional. From improving the layout to creating better flow, these ideas focus on practical changes that make everyday cooking and moving around easier.
You don’t need to knock down walls or start a major renovation to make a difference. With smarter storage, clearer walkways, and better use of your prep space, you can give your kitchen a more open and comfortable feel using simple updates you can tackle over a weekend.
Move the Space Bully Out of Your Aisle
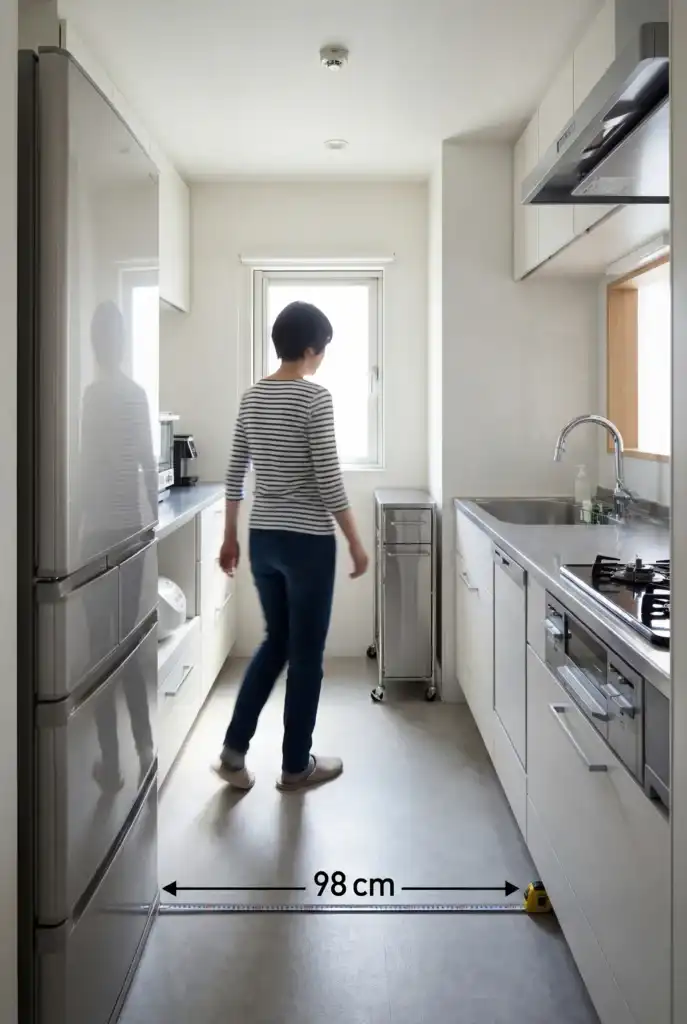
- What to do: Move the deepest table, shelf, or cart until your main walkway is around 90 cm wide.
- Why it feels bigger: You can move comfortably without turning sideways, making the entire kitchen feel more open.
- Best for: Galley and one-wall layouts.
- If you rent: Turn the table so its narrow side faces the aisle or replace it with a slim secondhand piece.
- Common mistake: Prioritizing dining space and forcing the cooking area into whatever space remains.
- Measurement rule: Keep the narrowest part of the main walkway between 90 and 105 cm.
Booth Seating Storage Instead of Loose Chairs
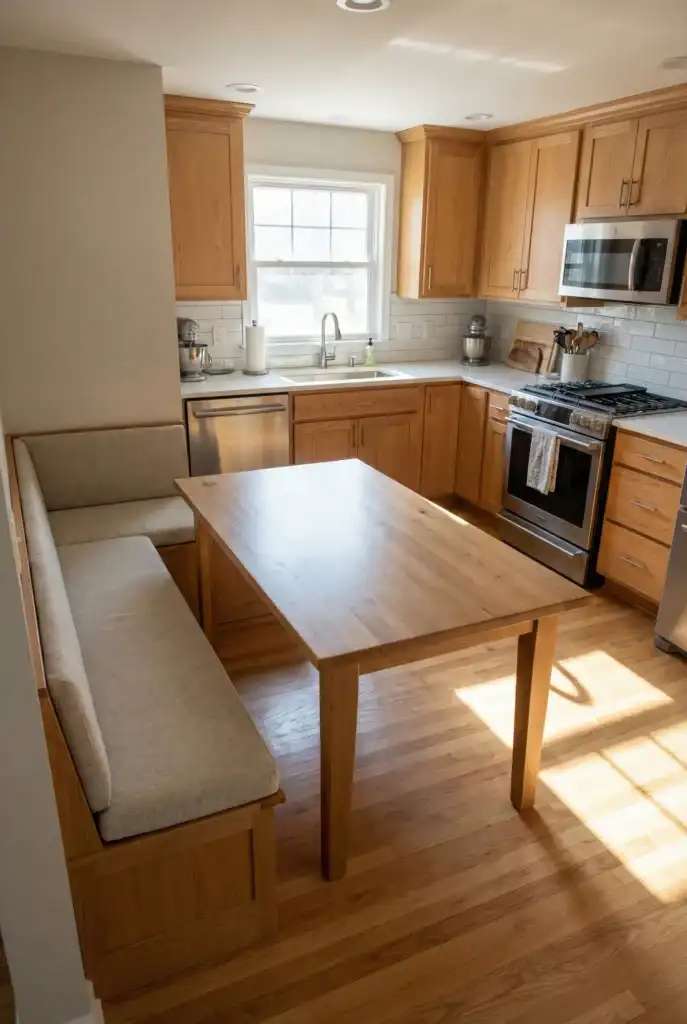
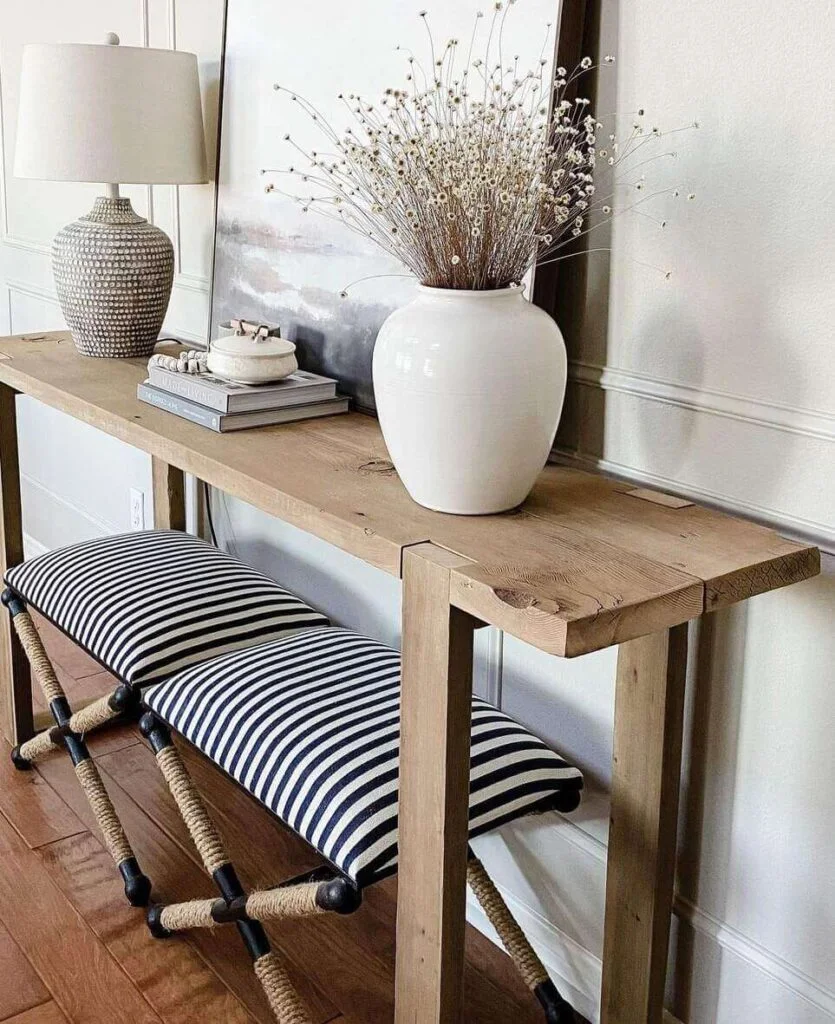
- What to do: Replace two individual chairs with a storage bench or built-in-style booth with lift-up seating.
- Why it feels bigger: A bench takes up less visual and floor space while giving you hidden storage.
- Best for: L-shaped kitchens and small peninsula layouts.
- If you rent: Push the table against the wall and add one compact storage bench.
- Common mistake: Trying to fit four chairs into a space that works better with two chairs and a bench.
- Measurement rule: Leave approximately 90 cm between the table edge and nearby cabinets.
Put Trash Inside the Triangle
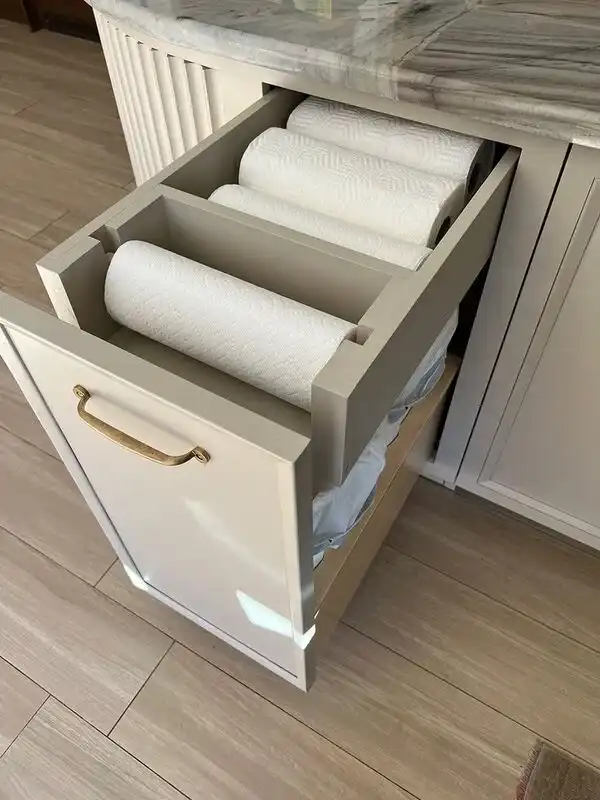
- What to do: Position the trash bin beneath the sink or use a slim pullout near the main preparation area.
- Why it feels bigger: You avoid carrying scraps and messy dishes across the kitchen.
- Best for: All kitchen layouts.
- If you rent: Use a narrow lidded bin tucked beside the sink cabinet.
- Common mistake: Putting the trash can in the only open corner simply because it fits.
- Measurement rule: Keep the trash within one easy step of the sink.
Fridge with a Real Landing Zone
- What to do: Leave useful counter space beside the refrigerator, preferably on the handle side, for unloading groceries.
- Why it feels bigger: You can put food down immediately instead of creating traffic around the kitchen.
- Best for: Galley, L-shaped, and one-wall kitchens.
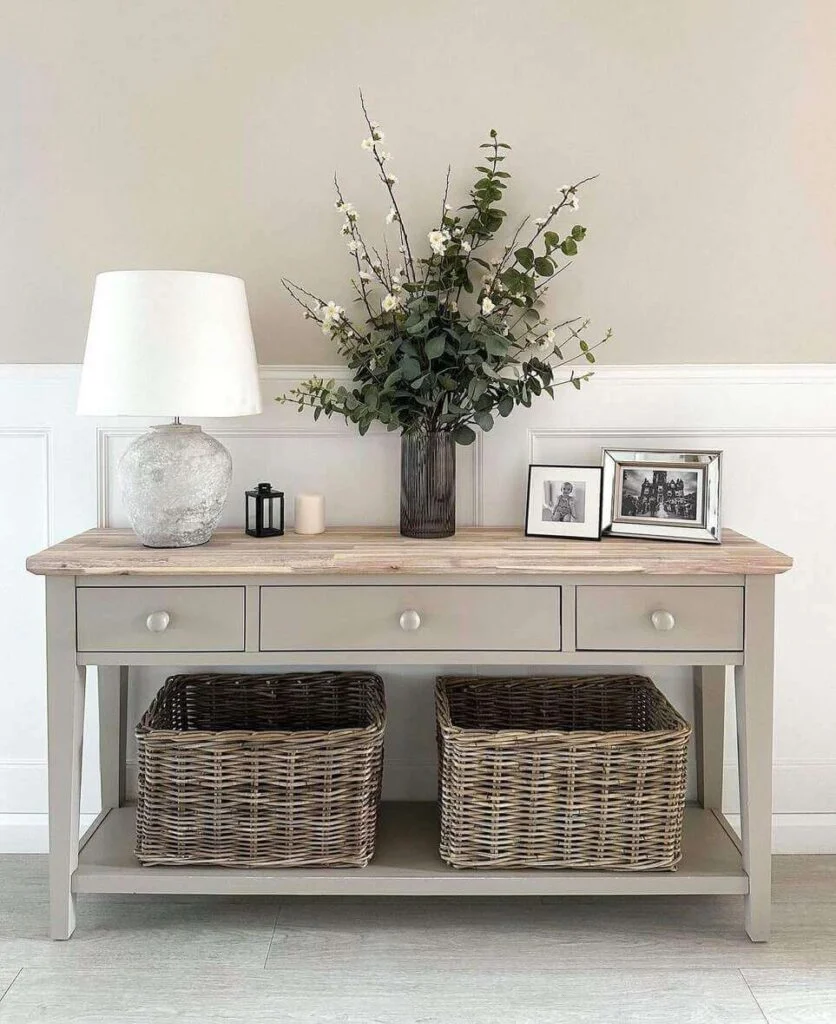
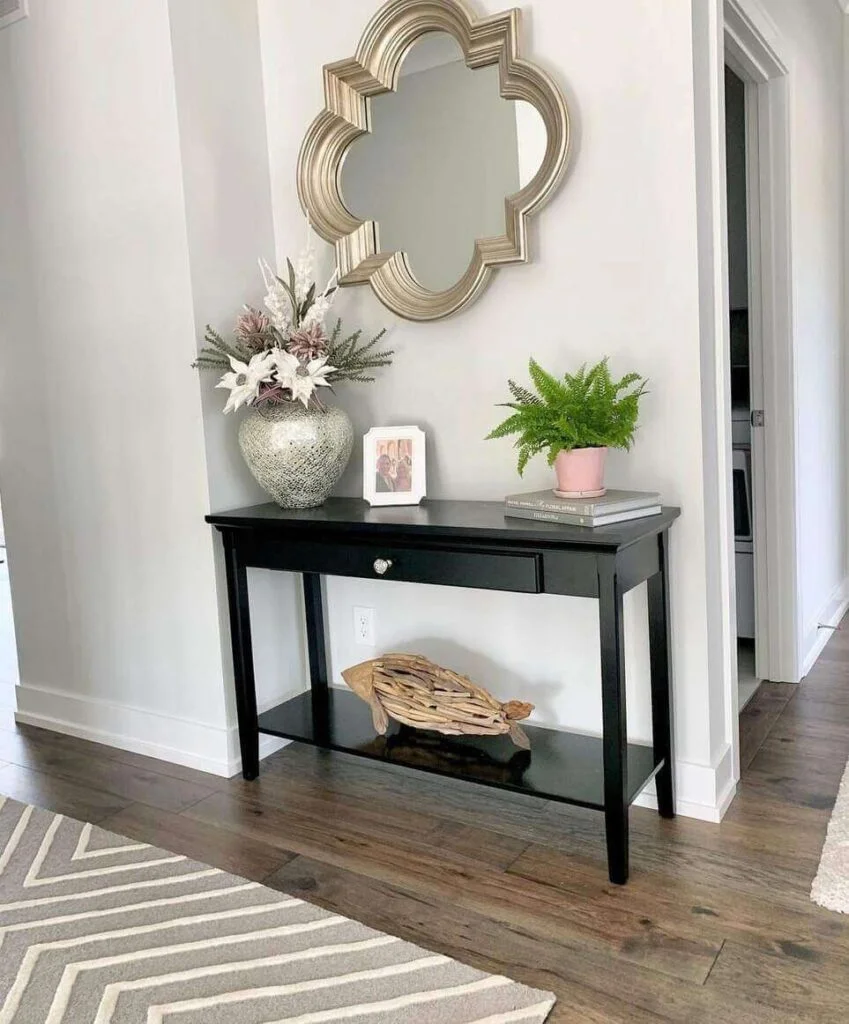
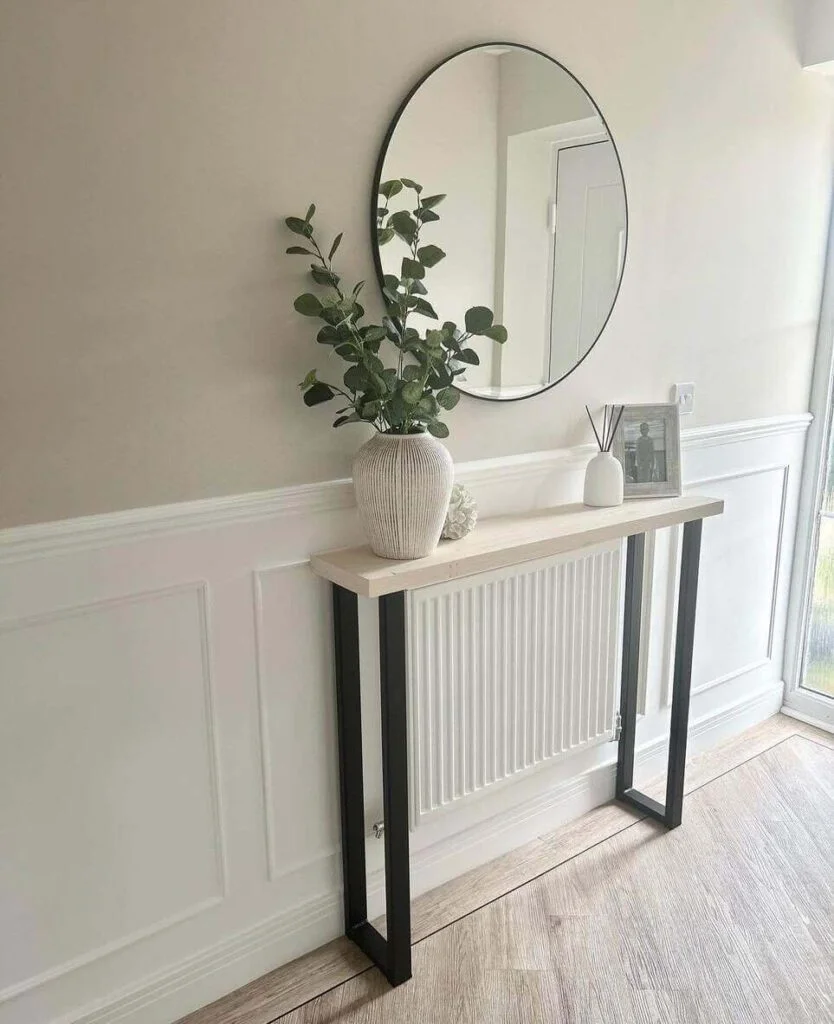
- If you rent: Use a slim cart or narrow console beside the refrigerator to create a practical landing area.
- Common mistake: Pushing the refrigerator tightly into a corner without any nearby counter.
- Measurement rule: Aim for around 38 to 45 cm of clear counter space beside the fridge.
Keep Your Prep Strip Out of the Dark Corner
- What to do: Choose a straight section between the sink and stove and make it your dedicated 60 to 90 cm preparation zone.
- Why it feels bigger: Standing squarely at the counter gives you a better view of the room and makes cooking feel less cramped.
- Best for: L-shaped and U-shaped kitchens.
- If you rent: Keep the straight counter run clear and use corners for smaller appliances instead.
- Common mistake: Moving the cutting board into the deepest corner simply because the space is available.
- Measurement rule: Reserve at least 60 cm of straight, non-corner counter for everyday food preparation.
Light Colors and Reflective Finishes
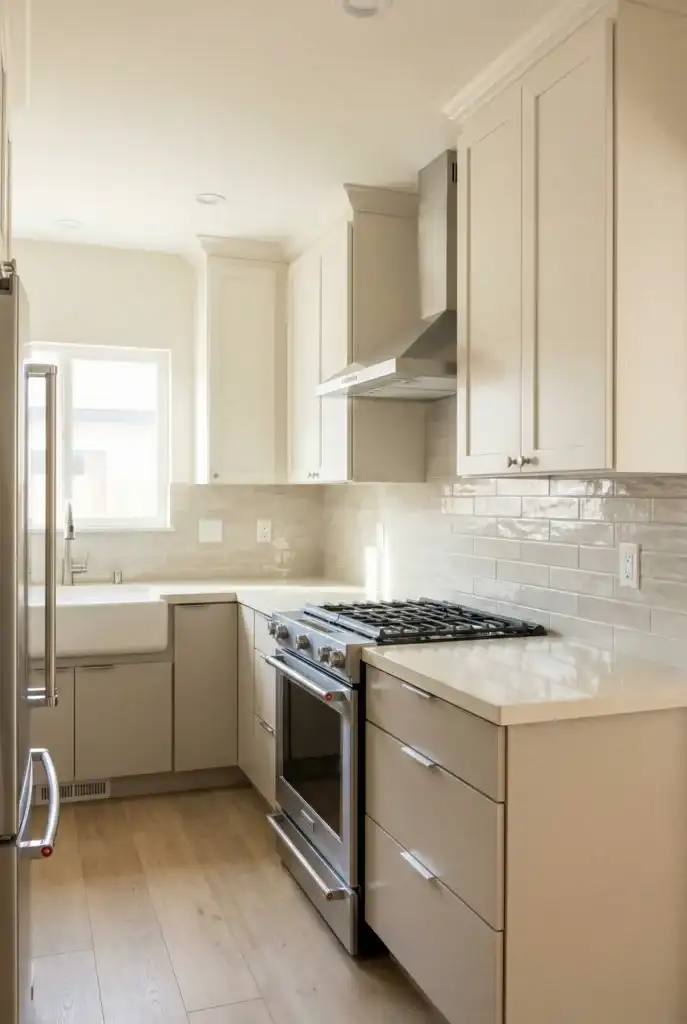
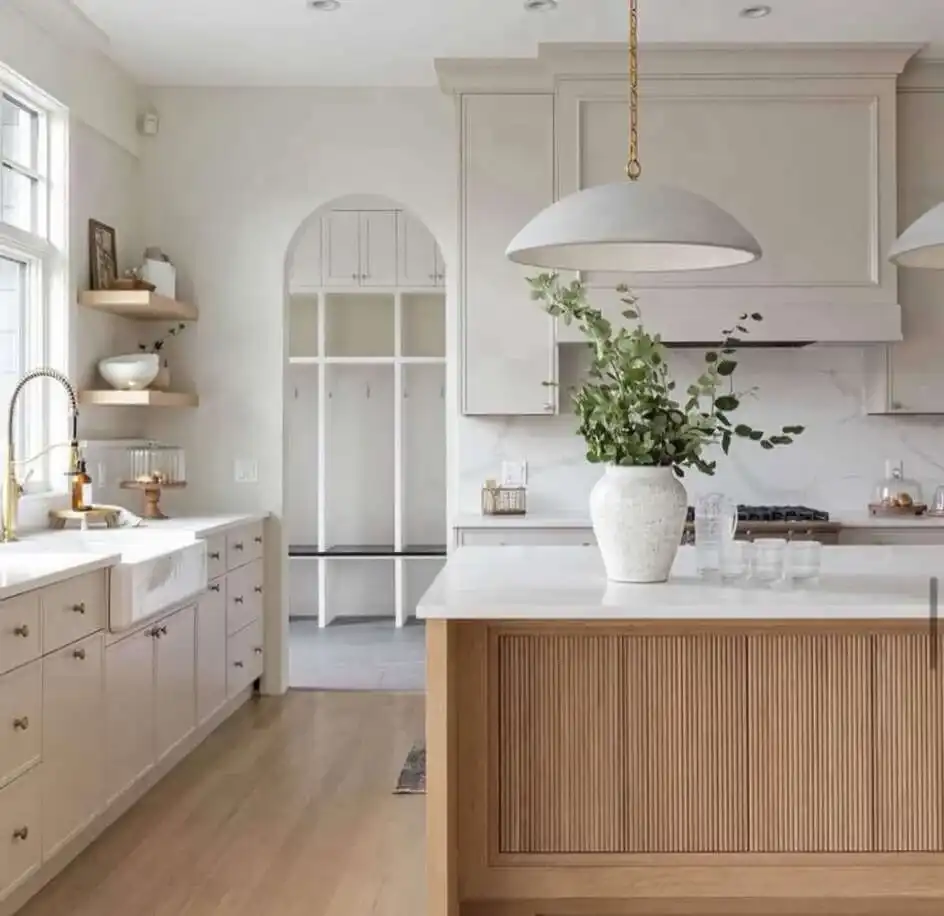
Light colors and reflective finishes can help your eyes perceive the kitchen as more spacious. Simple palettes, vertical details, and carefully chosen reflective surfaces can visually stretch the room without making it feel bland or characterless.
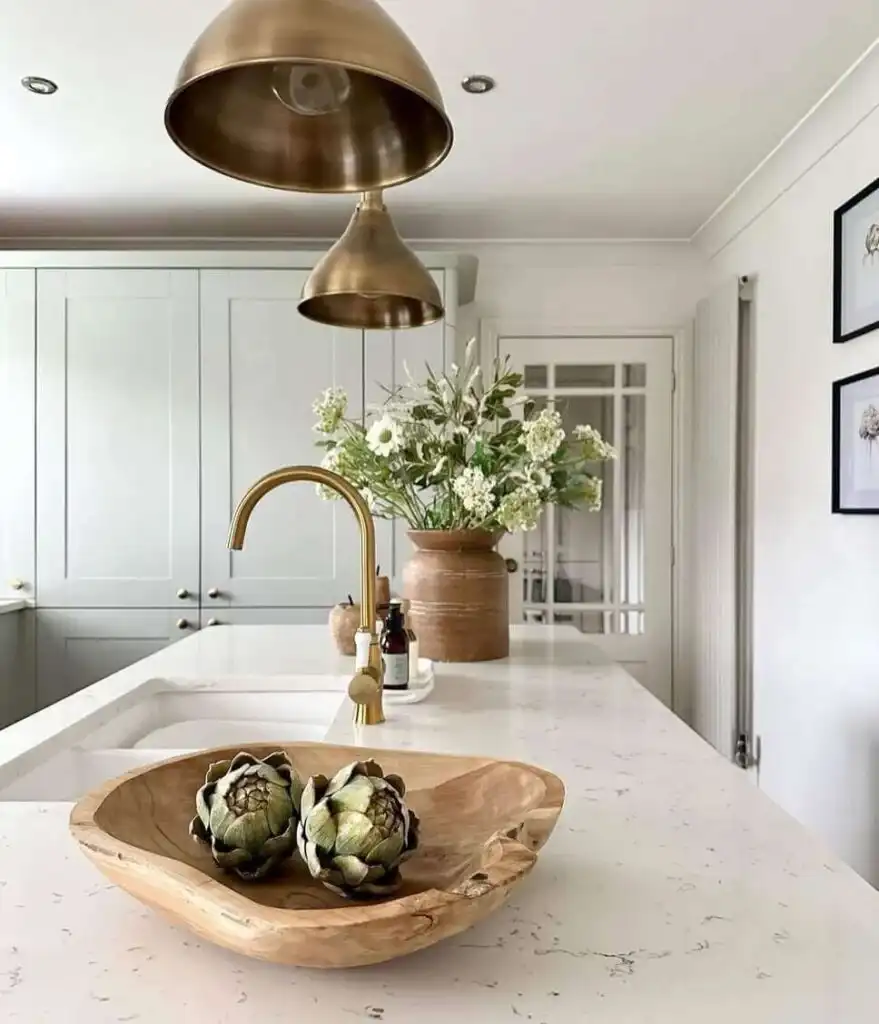
You do not have to make everything white. Instead, choose one dominant light shade for the walls and, when possible, the upper cabinets. Then introduce one standout feature, such as floor-to-ceiling tile, a mirrored backsplash, or a patterned floor, while keeping the remaining finishes calm and coordinated.
One Dominant Light Color
- What to do: Use one soft, light shade across the walls and, ideally, the upper cabinets.
- Why it feels bigger: Fewer strong contrast lines allow the room to read as one continuous space.
- Best for: Every kitchen layout.
- If you rent: Paint only the walls and allow the existing cabinets to provide contrast.
- Common mistake: Using several different wall colors in a very compact kitchen.
- Measurement rule: Carry the dominant color across most walls from floor to ceiling.
Floor to Ceiling Tile on One Wall
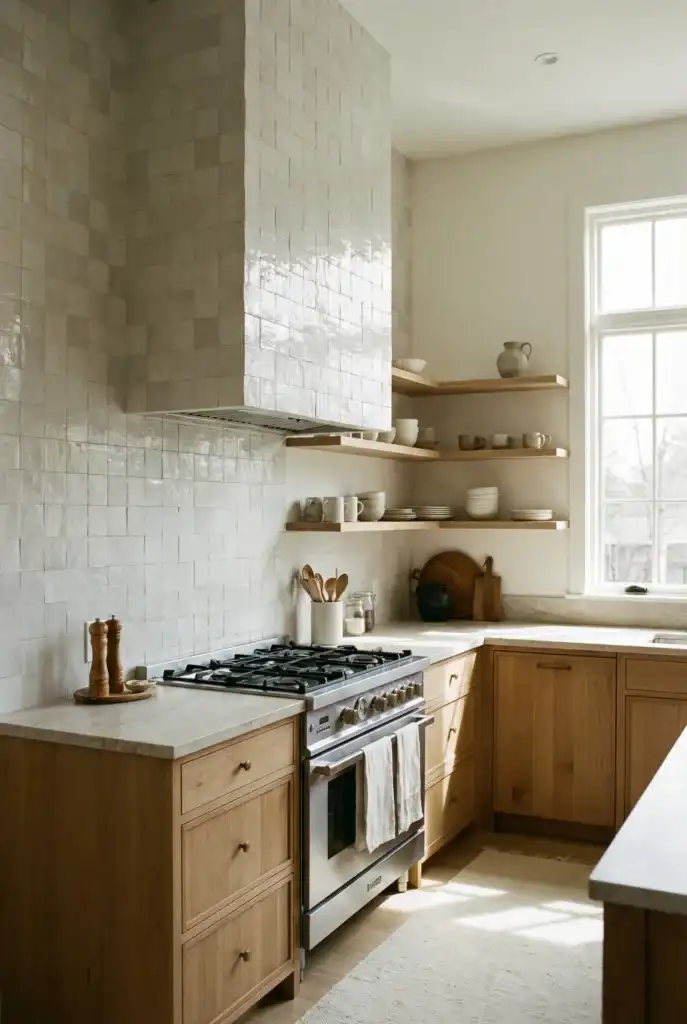
- What to do: Tile a short wall or the cooking wall from the countertop all the way to the ceiling.
- Why it feels bigger: Vertical lines draw the eye upward and add visual height.
- Best for: L-shaped and U-shaped kitchens with one clear feature wall.
- If you rent: Try removable peel-and-stick tile in a subtle, low-contrast design.
- Common mistake: Installing a short backsplash and then using a dark, dramatic color above it.
- Measurement rule: Use at least 45 cm of backsplash height, or extend the tile to the ceiling on one focal wall.
Mirrored Backsplash for Extra Depth
- What to do: Install a mirrored backsplash behind the sink or cooktop where it can reflect natural light.
- Why it feels bigger: The reflective surface creates the impression of additional depth and brightness.
- Best for: Narrow galley and one-wall kitchens.
- If you rent: Consider a frameless mirror tile or removable reflective panel.
- Common mistake: Positioning the mirror where it reflects clutter or the trash bin.
- Measurement rule: Even a 30 x 60 cm reflective panel can noticeably increase the feeling of depth.
Statement Light Fixtures Instead of Tiny Ones
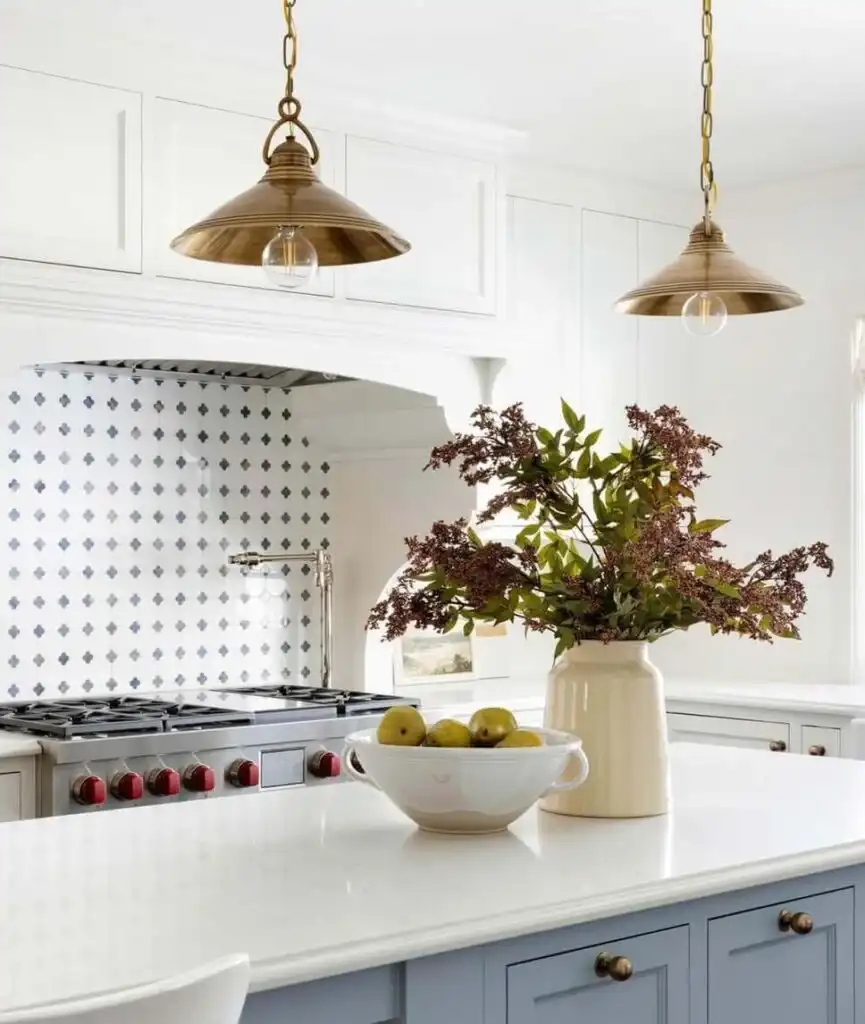
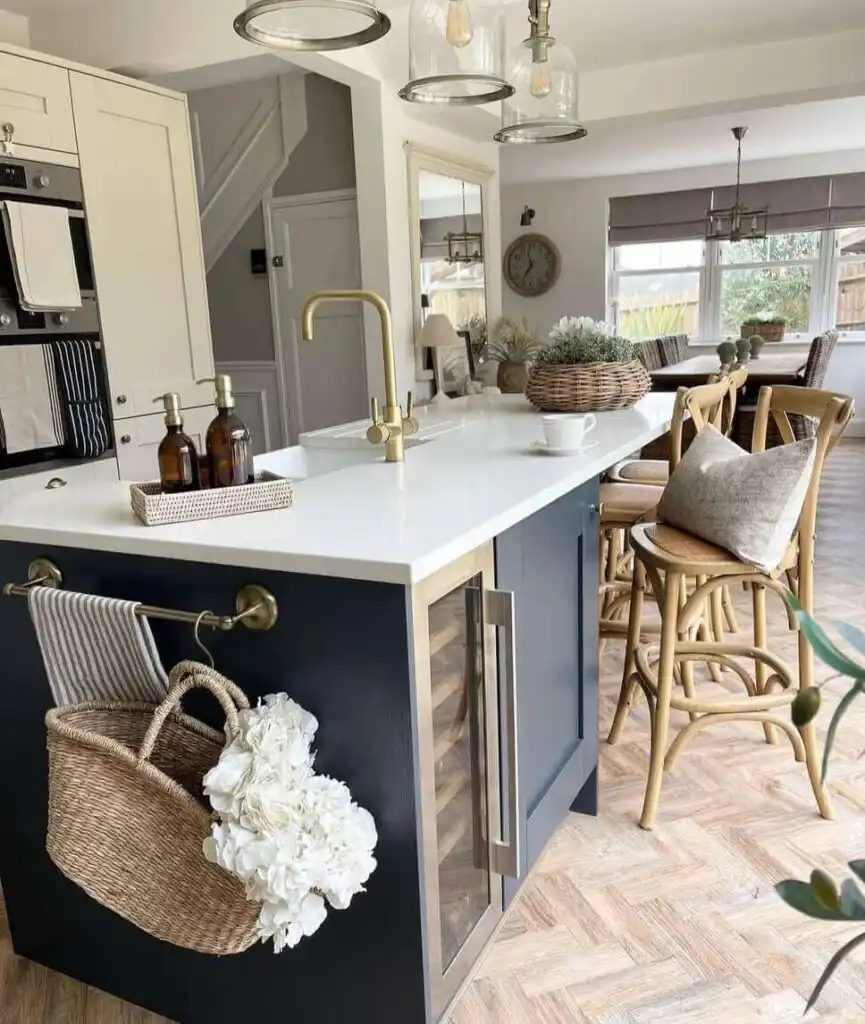
- What to do: Choose one or two distinctive fixtures over the main work area or peninsula and keep the remaining lighting simple.
- Why it feels bigger: A clear focal point helps visually organize the room.
- Best for: One-wall and peninsula kitchens.
- If you rent: Replace an existing shade with a larger, cleaner design.
- Common mistake: Combining too many small pendants, recessed lights, and ceiling fixtures.
- Measurement rule: Hang pendants approximately 70 to 85 cm above the counter.
Reflective Finishes That Bounce Light
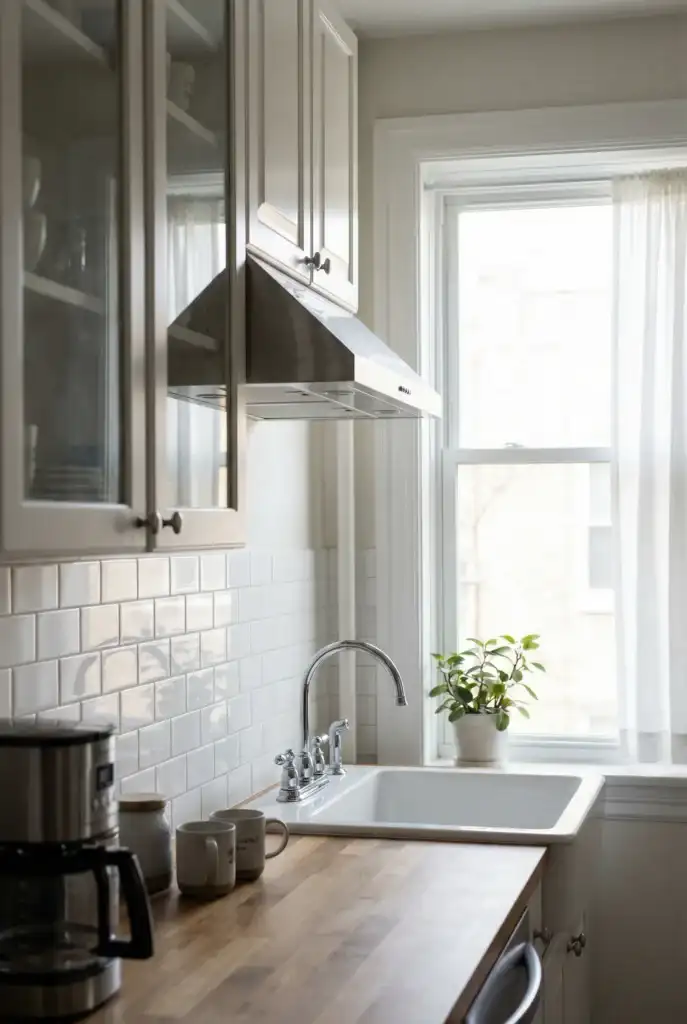
- What to do: Use glossy tile, polished metal, or glass near windows to reflect natural light around the room.
- Why it feels bigger: Reflected light travels farther and helps soften dark shadows.
- Best for: Kitchens with natural light from a window.
- If you rent: Keep reflective surfaces clean, use sheer window coverings, and add one glossy decorative accent.
- Common mistake: Using heavy curtains or dark accessories that block available daylight.
- Measurement rule: Keep the upper portion of the window clear from tall shelves or bulky objects.
Do Not Do This: Finish Mix
Avoid combining a heavily patterned backsplash, patterned flooring, colorful appliances, and multiple metal finishes. Choose one feature that grabs attention and allow the remaining surfaces to stay quiet.
Compact Appliances
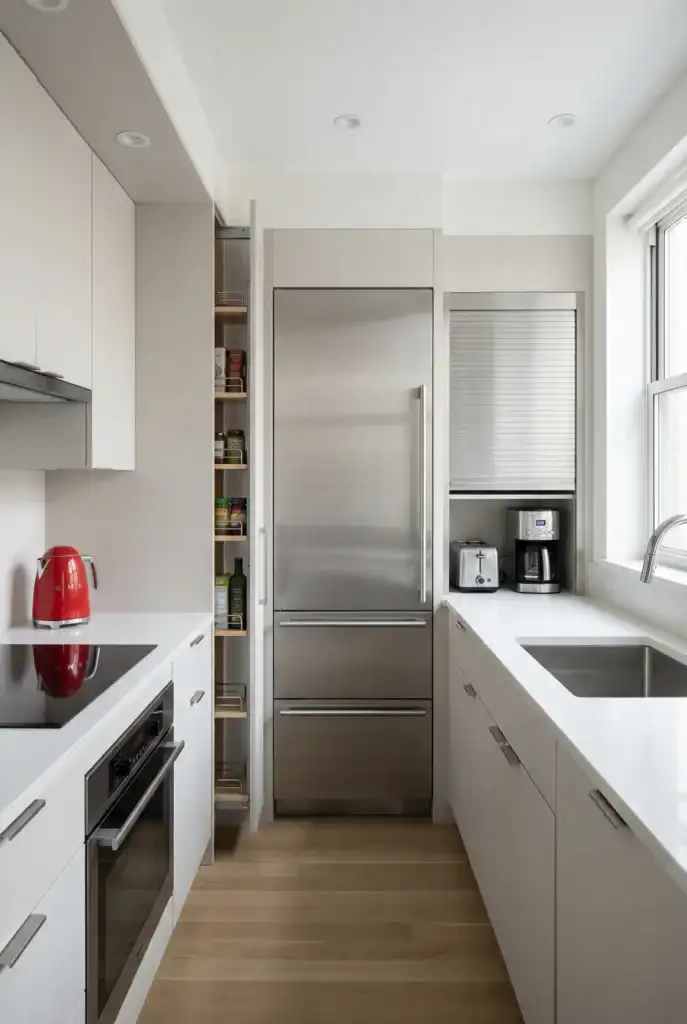
Compact appliances can prevent machines from taking over valuable floor and counter space. The goal is not to make your kitchen feel tiny—it is to choose appliances that match how you actually cook while leaving enough room to move and prepare food comfortably.
Every appliance should support your main work triangle and preparation zone. A shallower refrigerator can reduce aisle intrusion, while an appliance garage can keep smaller machines off the counter. You can still introduce colorful or eye-catching appliances; just use them intentionally rather than letting every surface become a display area.
Cabinet Depth Refrigerator as First Big Upgrade
- What to do: Consider replacing a deep refrigerator with a cabinet-depth model when possible.
- Why it feels bigger: The refrigerator sits closer to the cabinetry instead of projecting far into the walkway.
- Best for: Galley and one-wall kitchens.
- If you rent: Use a shallow console beside the existing refrigerator to make its depth feel less noticeable.
- Common mistake: Buying the largest refrigerator simply because it is discounted.
- Measurement rule: Aim for approximately 60 to 70 cm of depth instead of the 80 to 90 cm common with deeper models.
Compact Appliances That Match Your Life
- What to do: Choose a 45 cm dishwasher or slimmer cooking range if you primarily cook for one or two people.
- Why it feels bigger: A smaller appliance can give back valuable counter, cabinet, or drawer space.
- Best for: Short L-shaped and U-shaped kitchens.
- If you rent: A compact two-burner hob and smaller oven can be useful where appropriate.
- Common mistake: Installing oversized, commercial-style appliances in a very small kitchen.
- Measurement rule: Try to maintain at least 30 cm of landing counter on each side of a cooktop.
Appliance Garage vs Open Counter
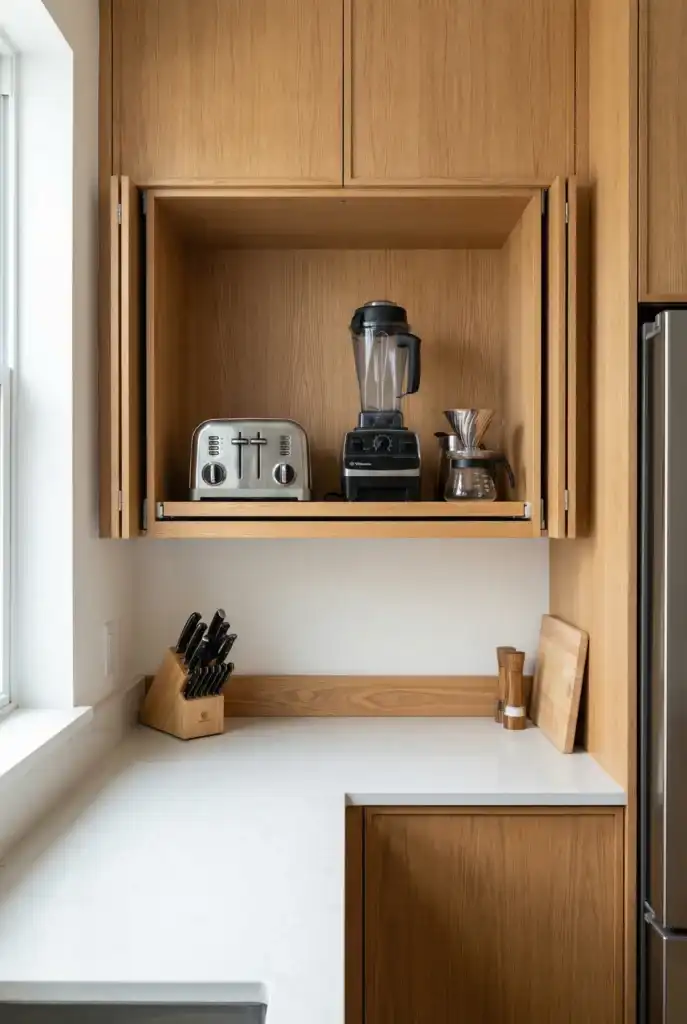
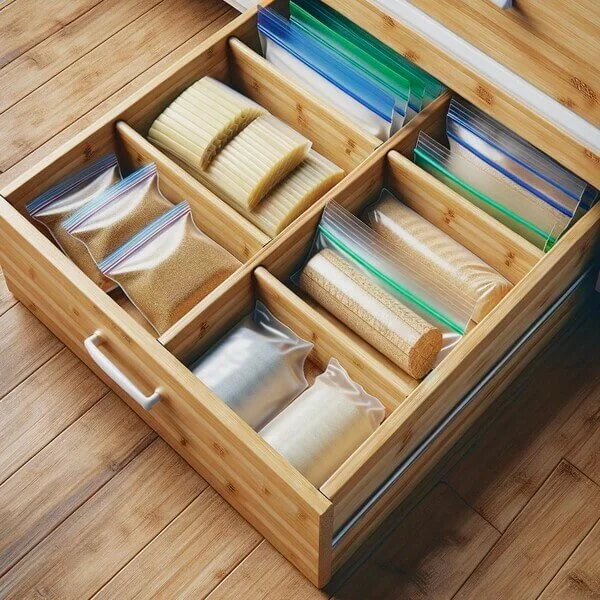
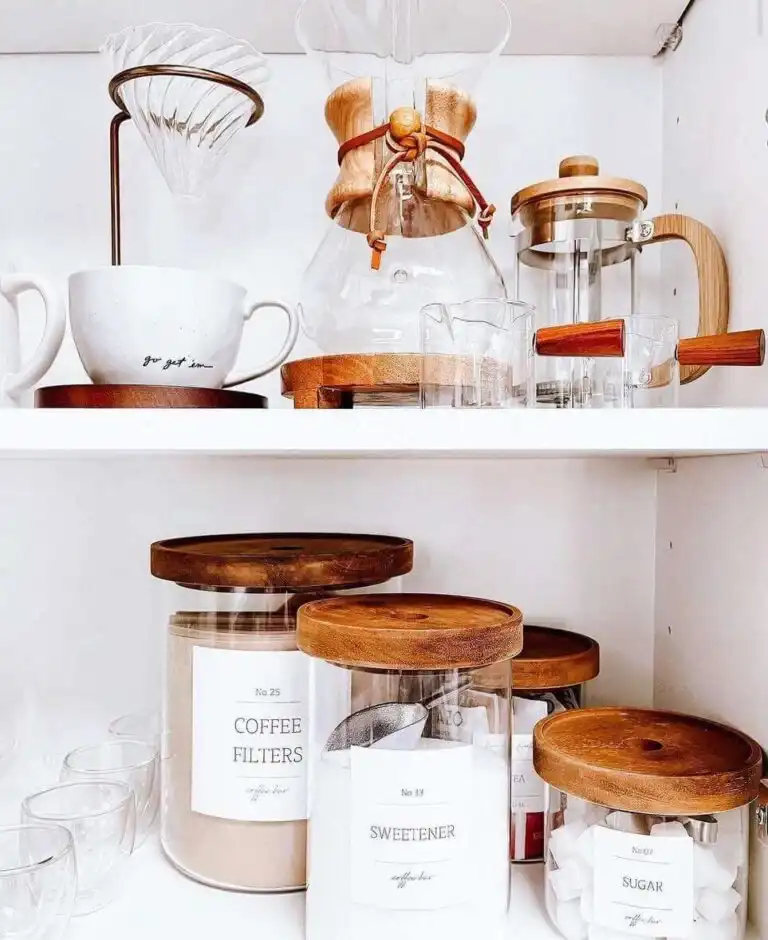
- What to do: Give your toaster, blender, coffee maker, and similar appliances a dedicated cabinet or cubby.
- Why it feels bigger: Clear countertops appear larger and function better as preparation areas.
- Best for: All layouts.
- If you rent: Repurpose a wall cabinet and add a simple pull-out tray.
- Common mistake: Keeping every appliance permanently lined up along the backsplash.
- Measurement rule: Keep the appliance garage close to your main 60 cm preparation zone.
Hide Laundry Under the Counter
- What to do: If the kitchen also contains laundry appliances, place the washer and dryer beneath the countertop or behind tall cabinet doors.
- Why it feels bigger: Concealing the machines helps the kitchen read as one continuous area.
- Best for: Apartments and one-wall layouts.
- If you rent: A simple curtain panel can hide exposed machines.
- Common mistake: Allowing laundry appliances to become the first visual feature of the kitchen.
- Measurement rule: A standard counter height of around 90 cm can often accommodate under-counter machines.
Edit Prismatic and Colorful Appliances
- What to do: Limit colorful or prismatic appliances to one or two standout pieces.
- Why it feels bigger: A few coordinated accents look intentional rather than visually chaotic.
- Best for: Small kitchens that need personality.
- If you rent: Start with one colorful kettle, toaster, or coffee maker while keeping other appliances neutral.
- Common mistake: Scattering brightly colored gadgets across every available surface.
- Measurement rule: Group accent appliances within roughly 60 cm so they read as one styled area.
Do Not Do This: Appliance Sprawl
Avoid pairing an oversized refrigerator with an oversized range on a short wall while leaving every small gadget permanently on display. Exposed laundry appliances, refrigerators, and pantries all competing along one narrow line can make the kitchen feel crowded very quickly.
Vertical Storage
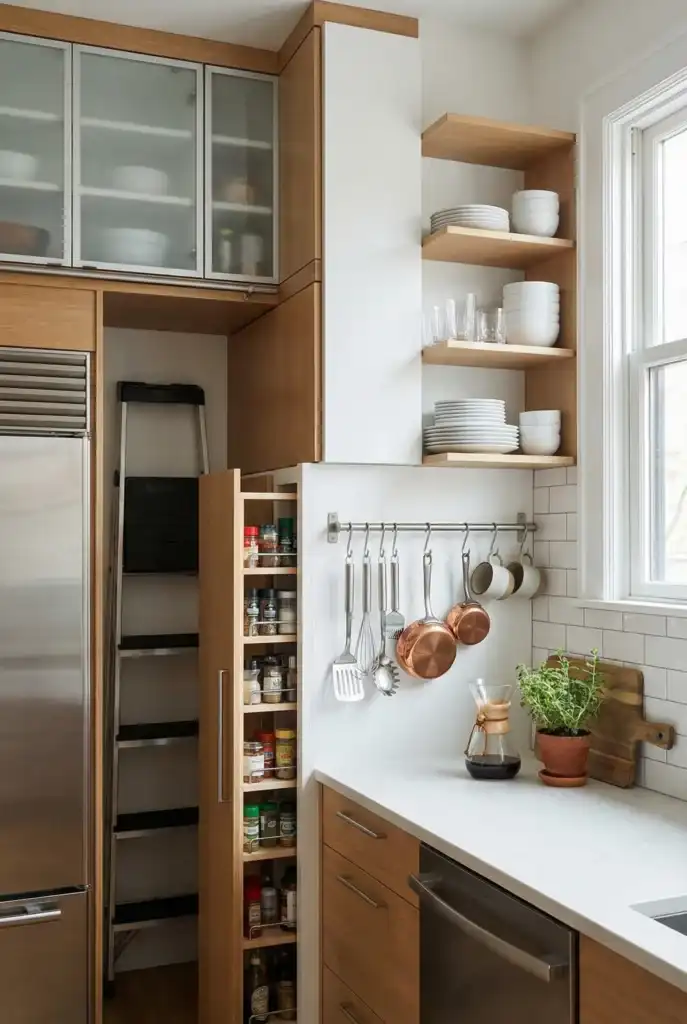
Vertical storage is where you use wall space and the ceiling line to create more storage without taking away valuable floor space. Since your floor area is fixed, additional cabinets, hooks, shelves, and slim storage units can help turn a cramped kitchen into a much more efficient space.
The goal is not to cover every wall with storage. Instead, move frequently used items upward while leaving enough empty space for the room to breathe. Extra cabinets can handle rarely used items, shallow open shelving can hold everyday dishes, and slim pullouts can make use of awkward gaps.
Extra Row Cabinets to the Ceiling
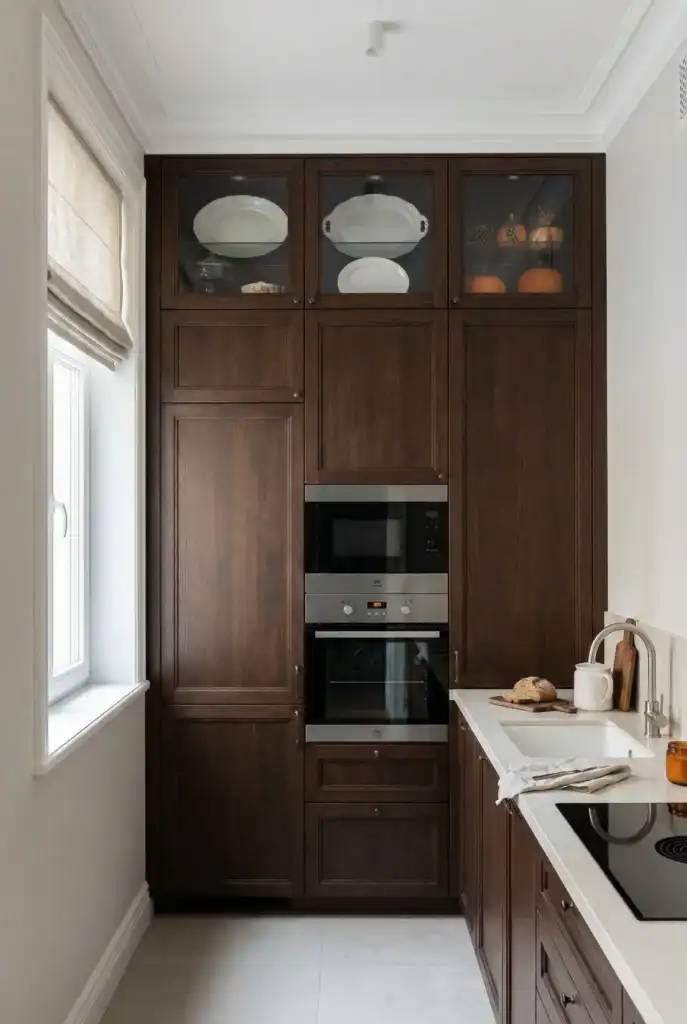
- What to do: Extend upper cabinets toward the ceiling and move rarely used items into the highest sections.
- Why it feels bigger: The cabinetry looks more custom while eliminating the awkward dusty gap above it.
- Best for: One-wall and galley kitchens.
- If you rent: Use matching baskets on top of existing cabinets to create the appearance of additional storage.
- Common mistake: Filling the cabinet gap with random decor and unused containers.
- Measurement rule: Leave only a minimal gap at the ceiling or eliminate it completely when possible.
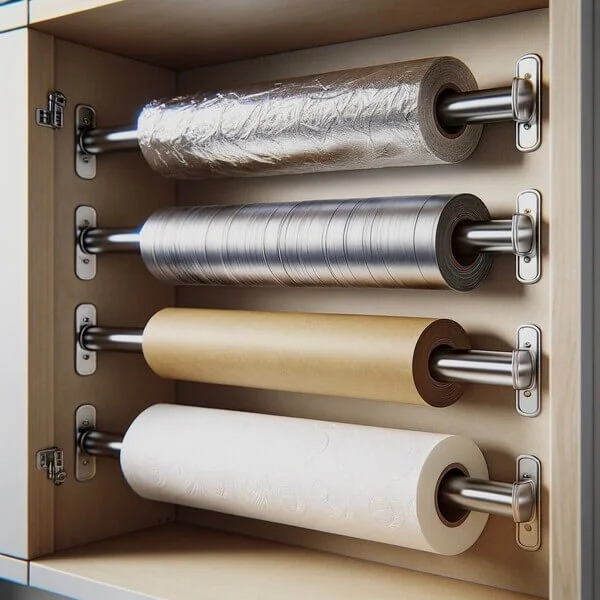
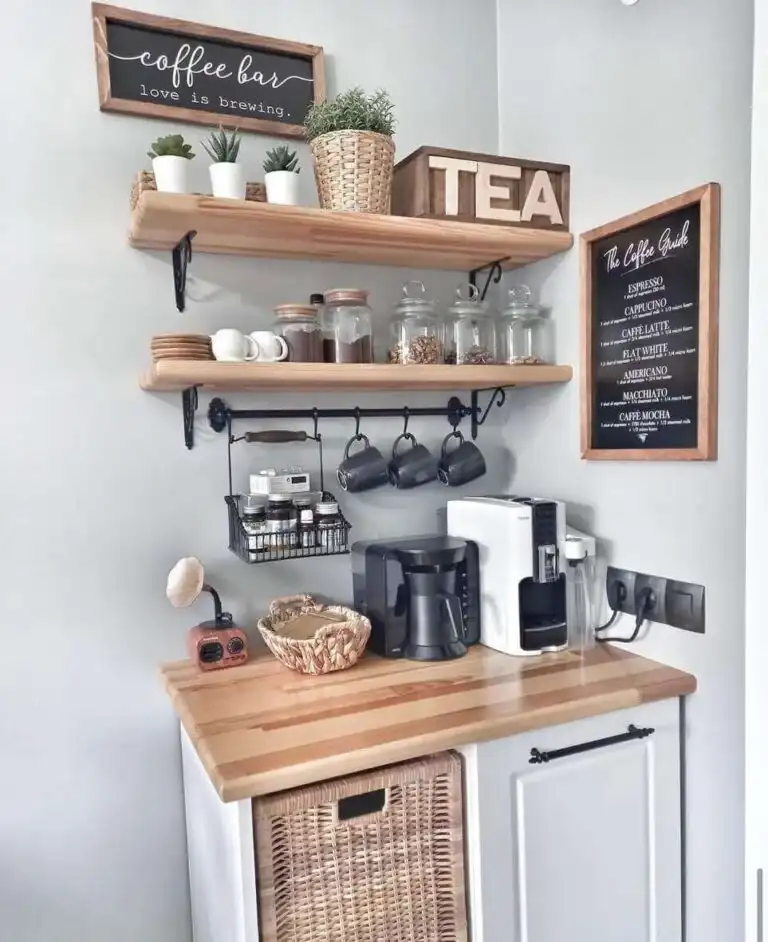
Wall Hooks Kitchen Rail for Daily Tools
- What to do: Install a simple rail with hooks for frequently used utensils, mugs, or small pans.
- Why it feels bigger: Everyday tools move away from crowded counters and drawers.
- Best for: All layouts, especially narrow galley kitchens.
- If you rent: Adhesive hooks or a tension rod can provide a temporary alternative.
- Common mistake: Hanging too many items and creating another source of visual clutter.
- Measurement rule: Position the rail around 45 to 50 cm above the counter.
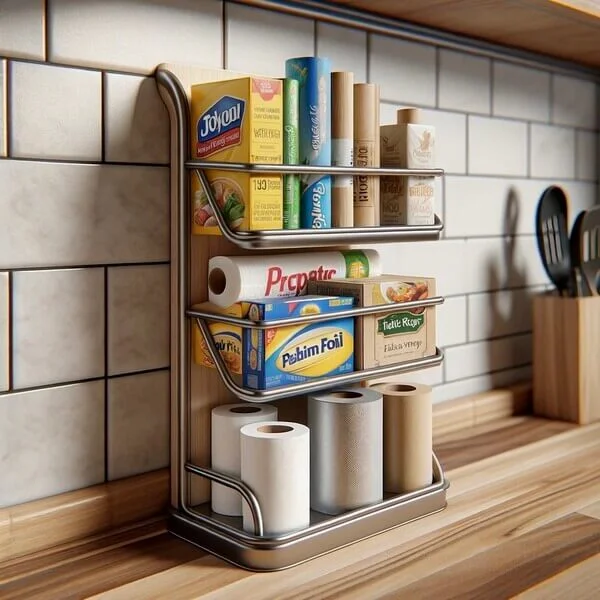
Shallow Open Shelving or Fold-Away Shelving
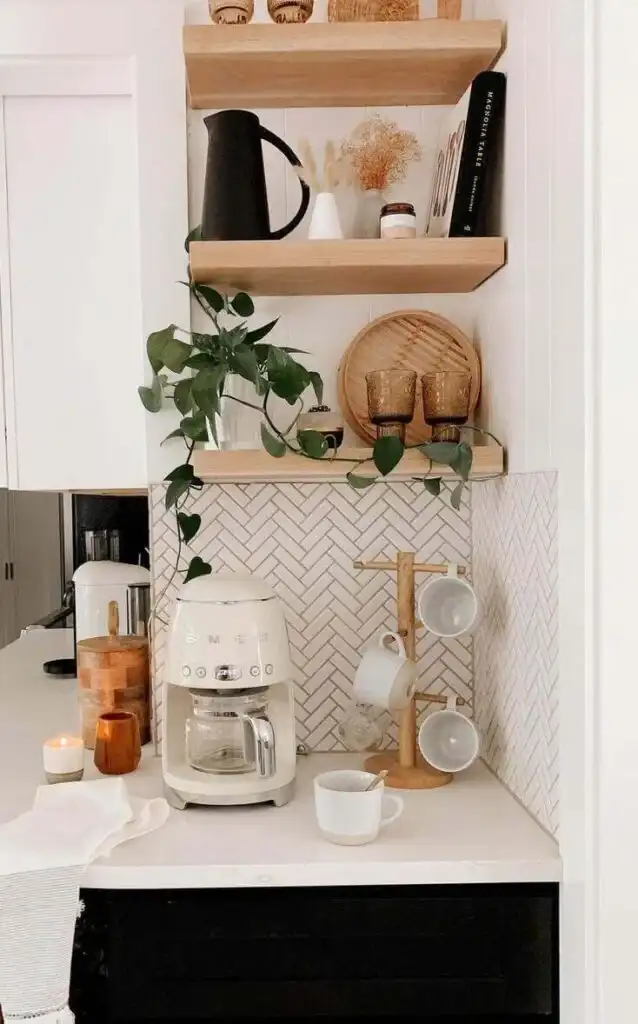
- What to do: Install shallow shelves for everyday plates, glasses, or small kitchen essentials.
- Why it feels bigger: Slim shelves provide useful storage without creating the visual weight of deep cabinets.
- Best for: L-shaped kitchens and walls near windows.
- If you rent: Use a narrow freestanding shelving unit that partly sits on the countertop.
- Common mistake: Choosing deep bookcase-style shelves that quickly become cluttered.
- Measurement rule: A depth of around 15 to 23 cm works well for plates and glasses.
Storage in Front Window Without Killing Light
- What to do: Use narrow shelves or rails around the window while keeping the glass itself clear.
- Why it feels bigger: You gain storage without sacrificing valuable natural light.
- Best for: One-wall kitchens with the sink positioned beneath a window.
- If you rent: Try removable suction shelves for lightweight items such as herbs or sponges.
- Common mistake: Installing deep shelves or heavy curtains that block the window.
- Measurement rule: Keep shelves shallow and avoid covering more than the lower portion of the window.
Slim Pullout Cabinet for Oils and Trays
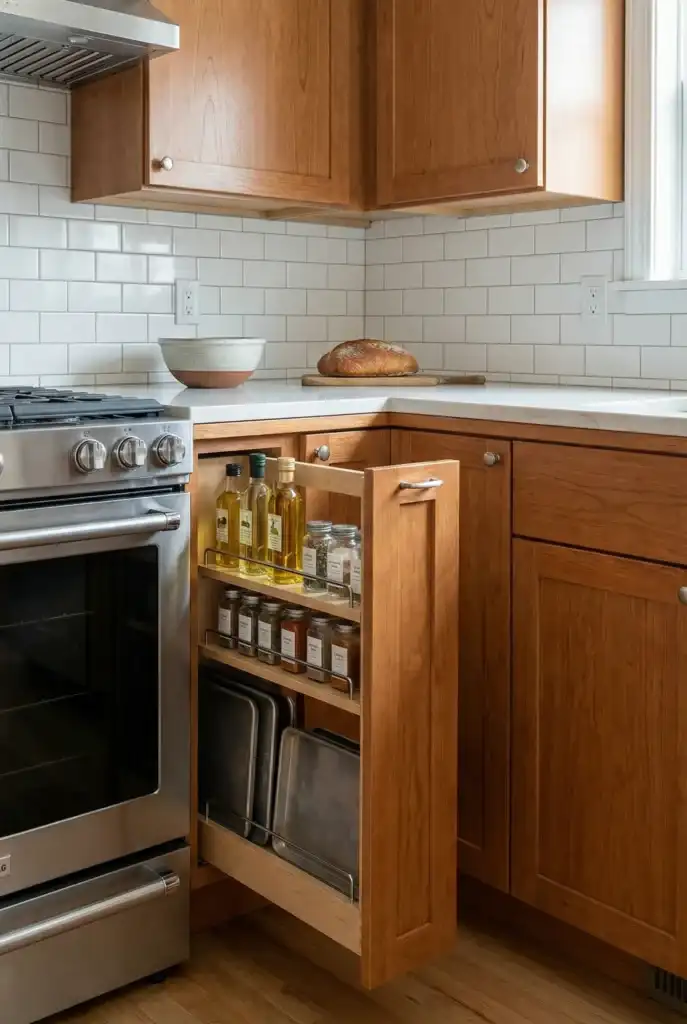
- What to do: Turn narrow spaces beside the refrigerator or stove into slim pullout storage.
- Why it feels bigger: Awkward gaps become useful storage instead of collecting dust and clutter.
- Best for: U-shaped and galley kitchens.
- If you rent: Use a narrow rolling cart that can move with you.
- Common mistake: Stuffing bags, cleaning tools, or random items into narrow gaps.
- Measurement rule: Even 15 to 20 cm of width can provide useful storage for oils, spices, and baking trays.
Do Not Do This: Vertical Overkill
Avoid putting open shelves on every available wall or filling deep shelves with excessive decor. Your upper storage should serve a purpose, while everyday dishes and tools should have designated places rather than taking over the countertops.
Minimal Countertop Clutter
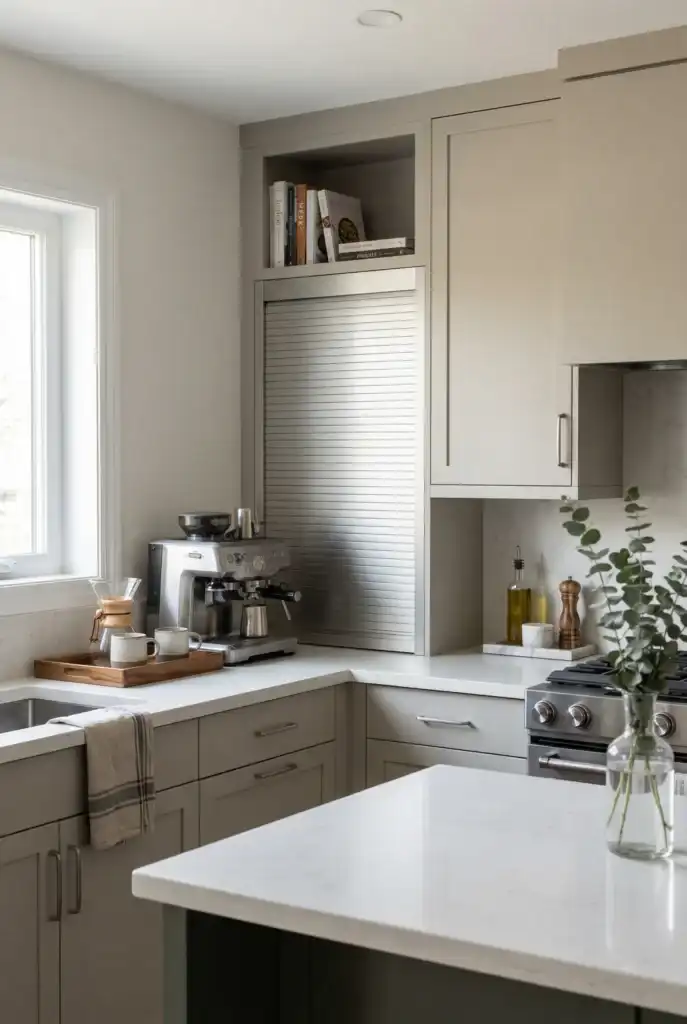
Countertop discipline is what helps all your other space-saving improvements work long term. You do not necessarily need more cabinets—you need a clear system for deciding what deserves to stay visible and what should have a permanent storage location.
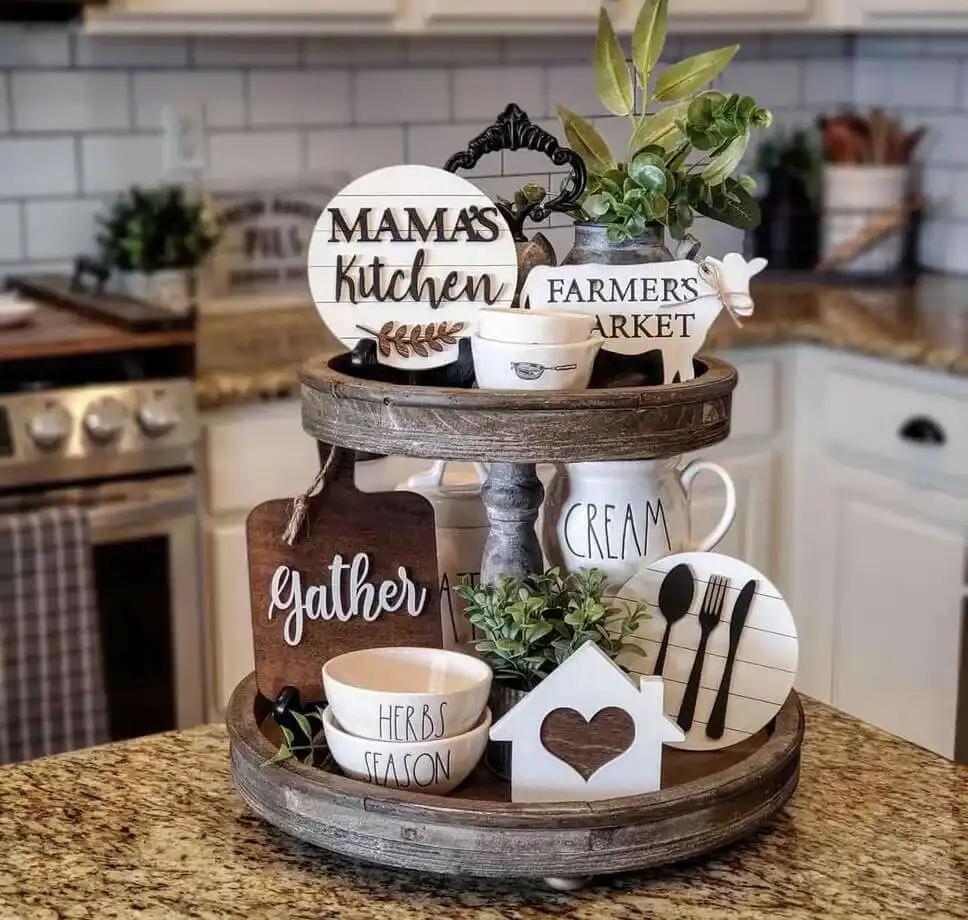
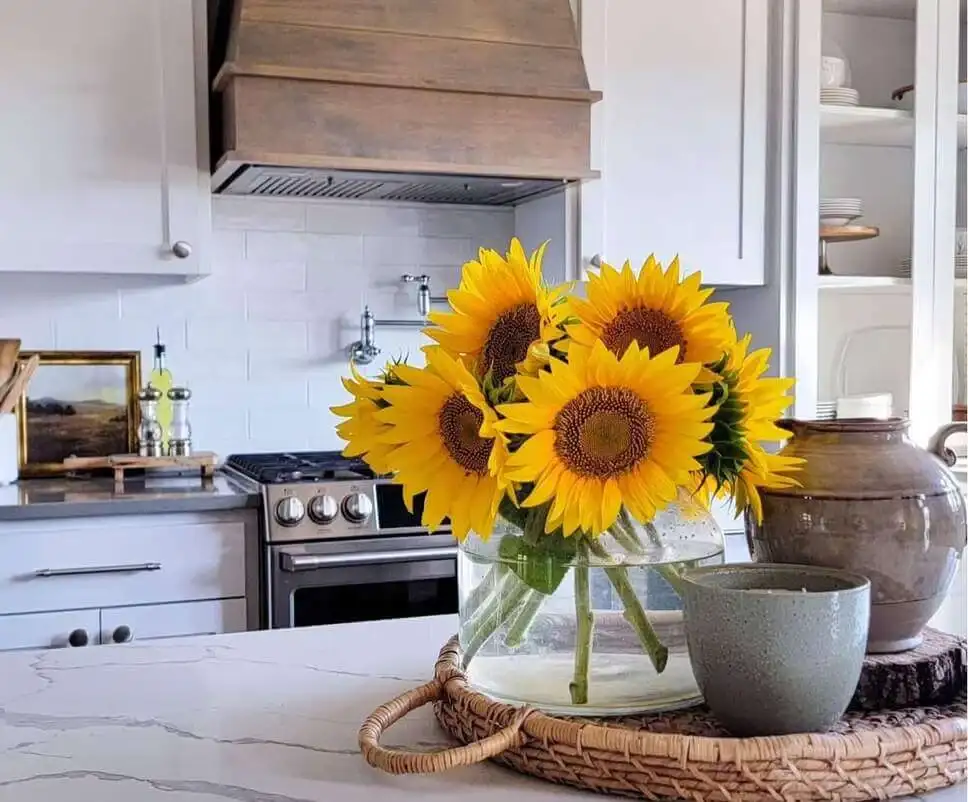
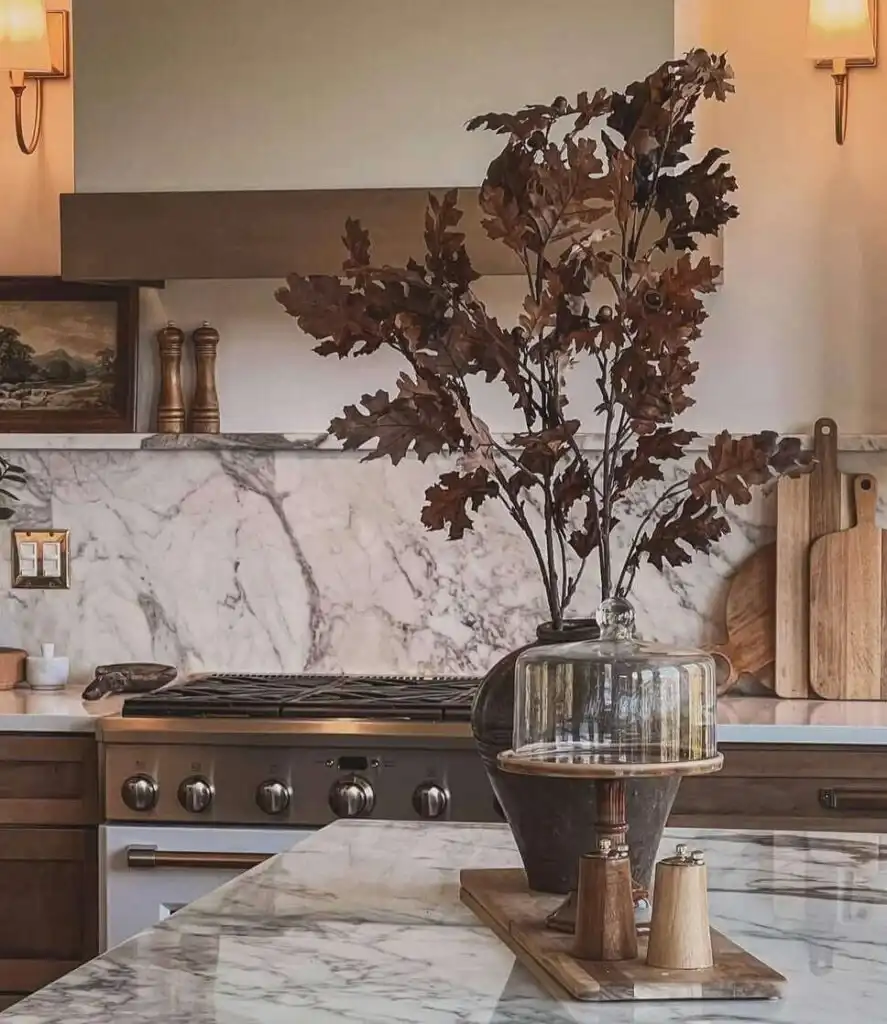
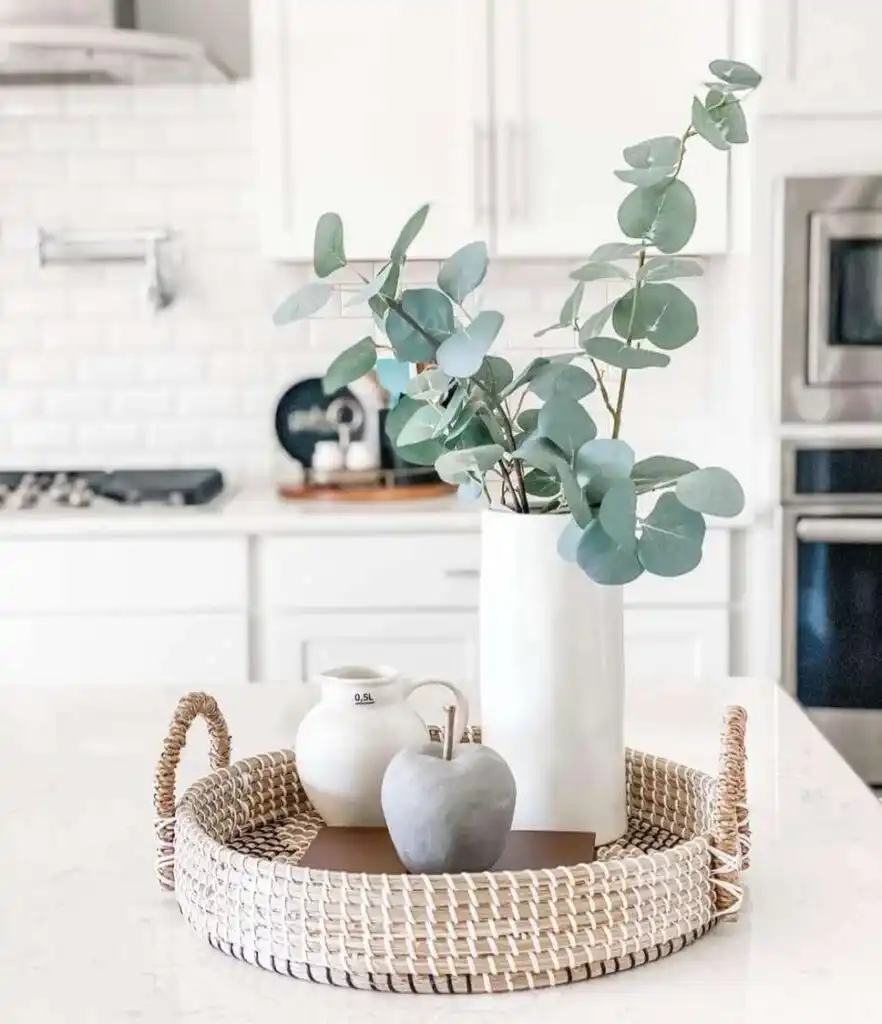
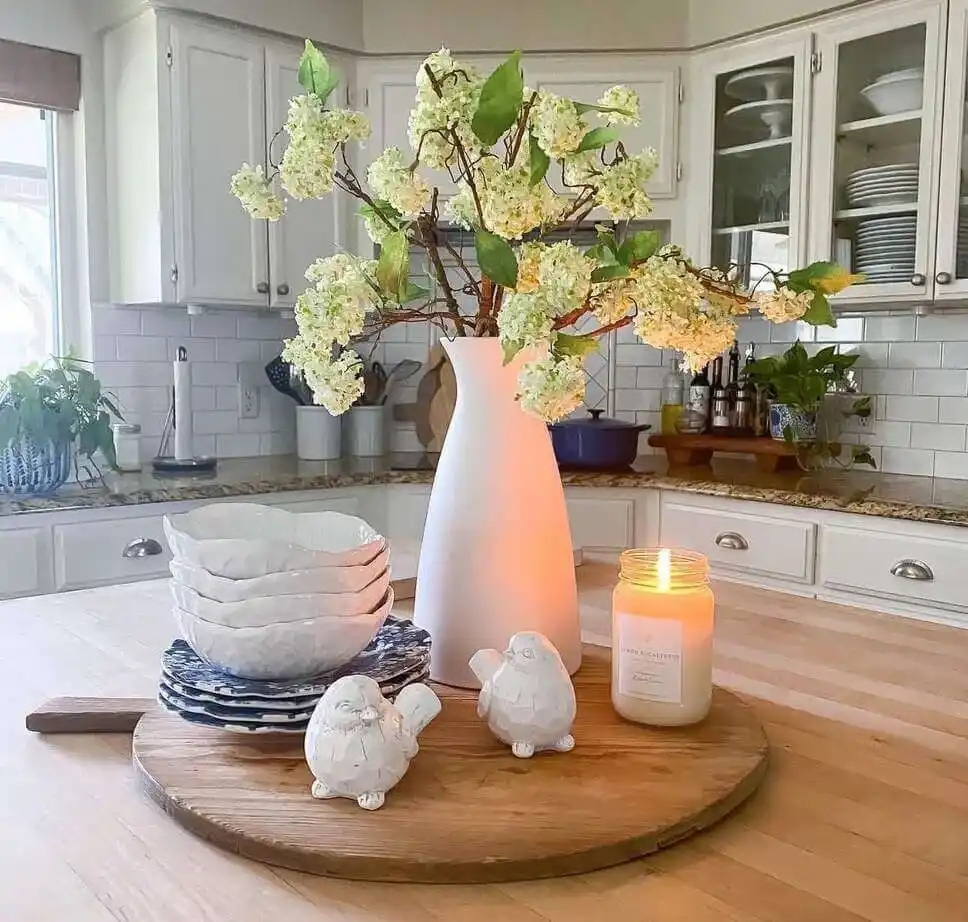
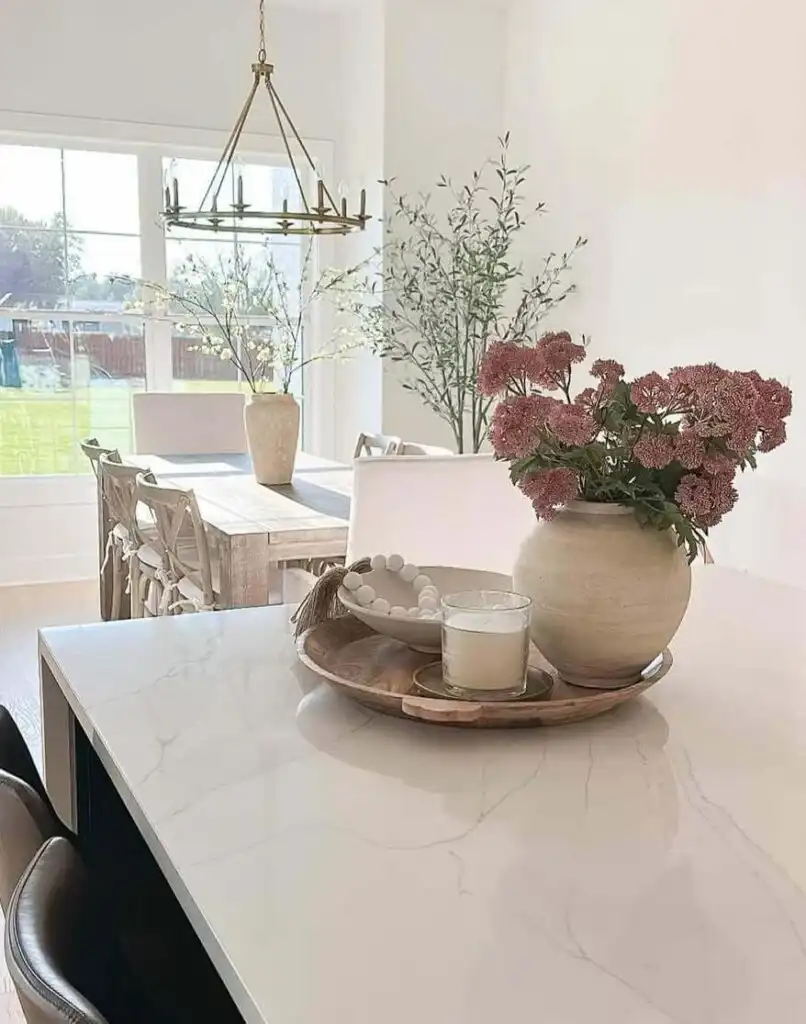
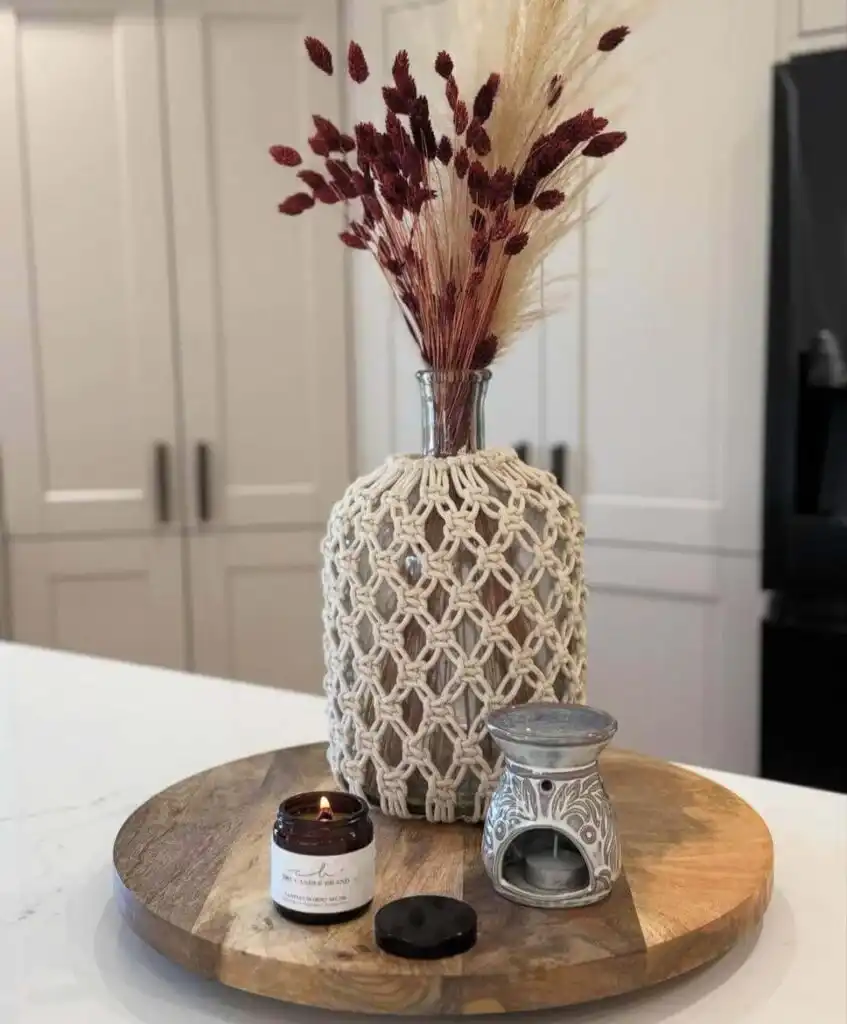
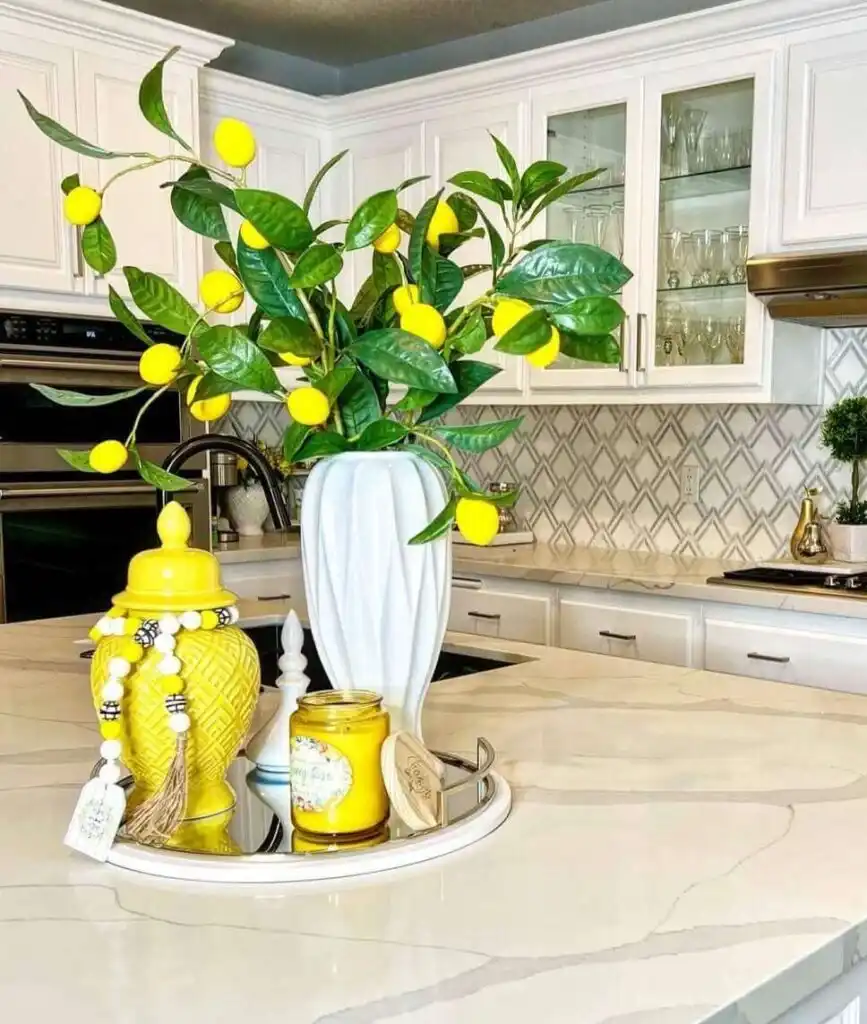
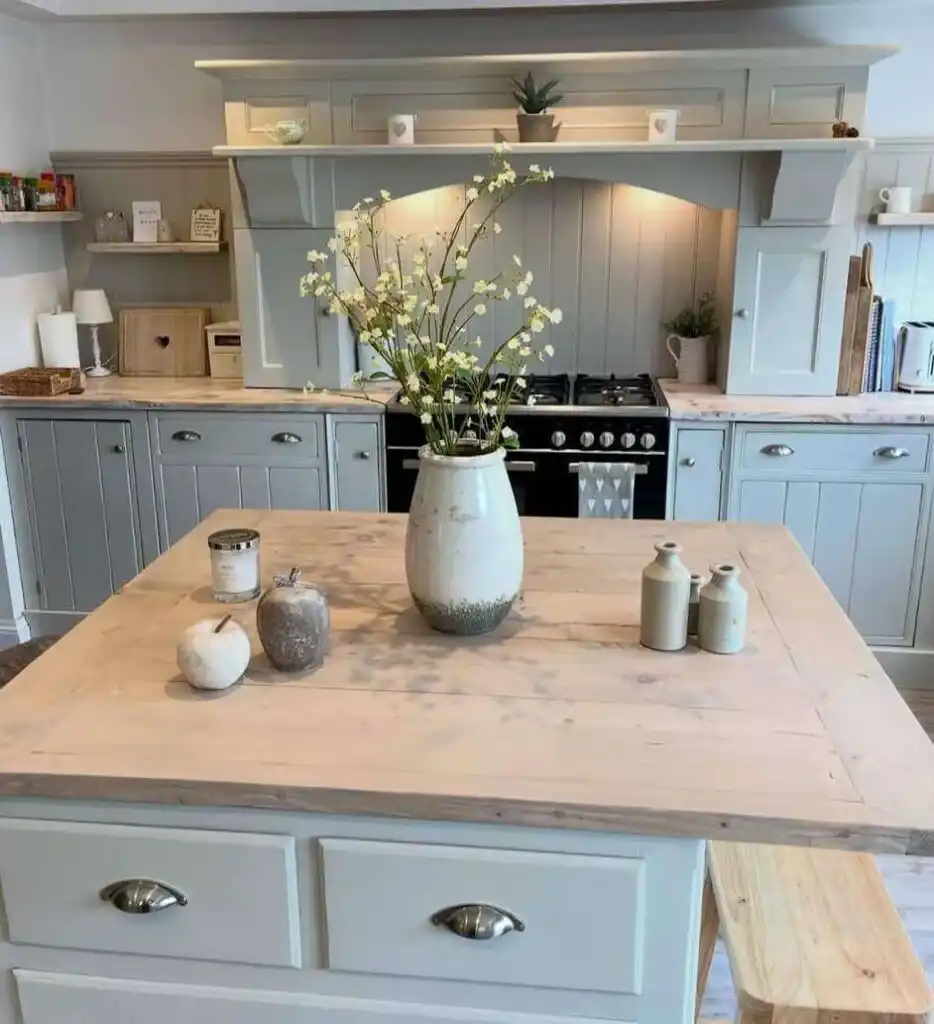
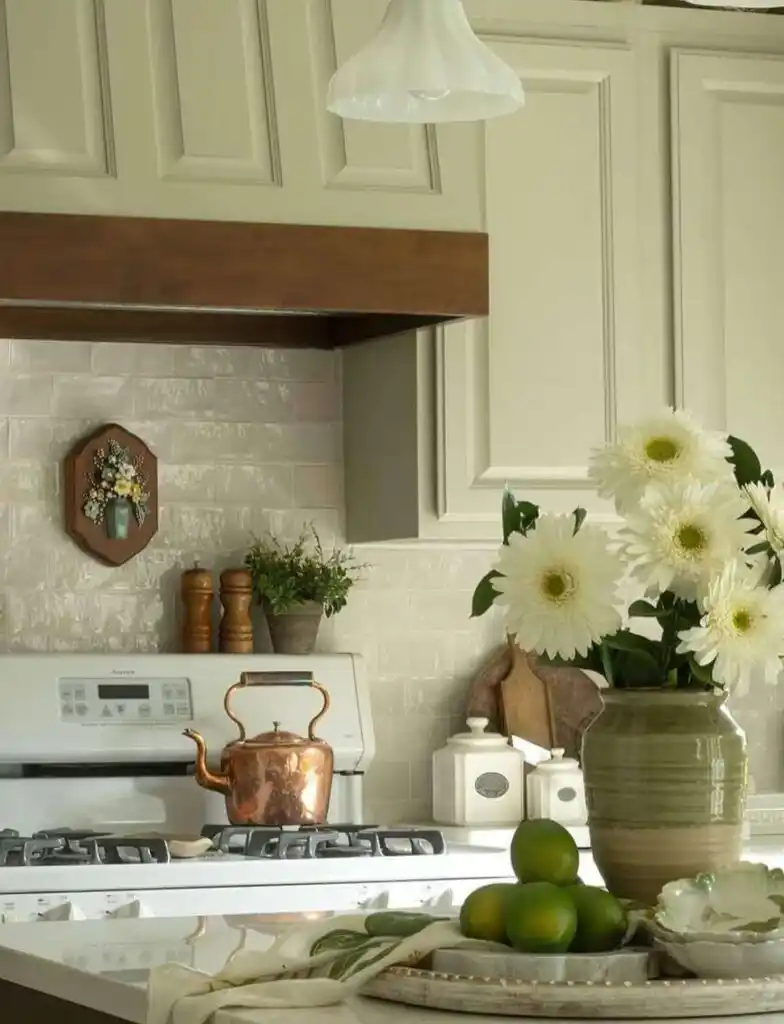
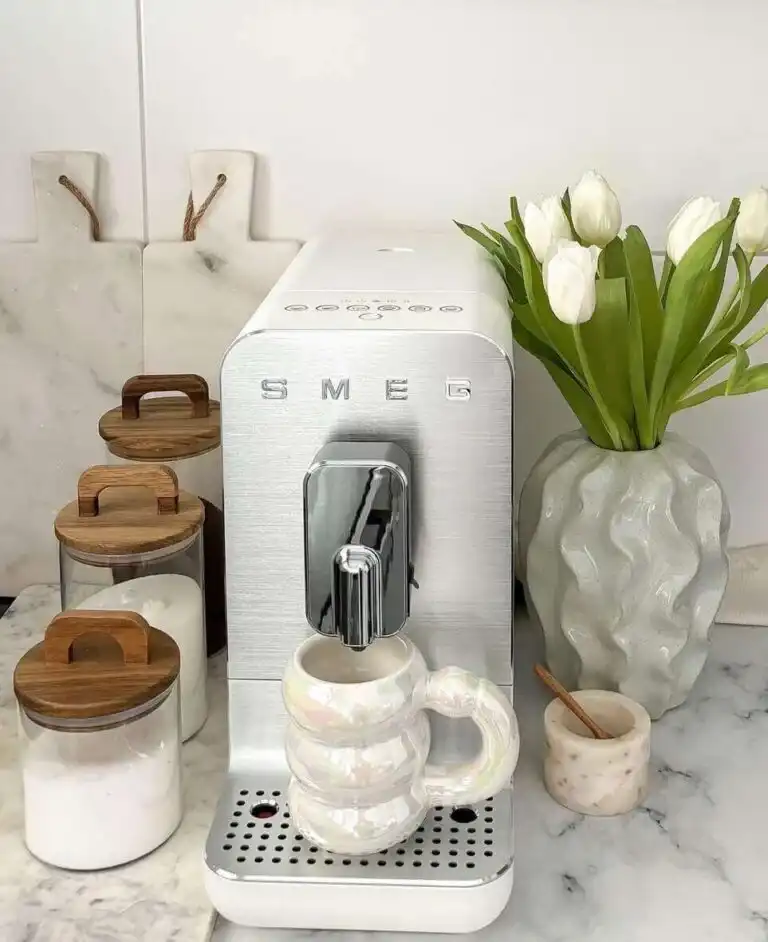
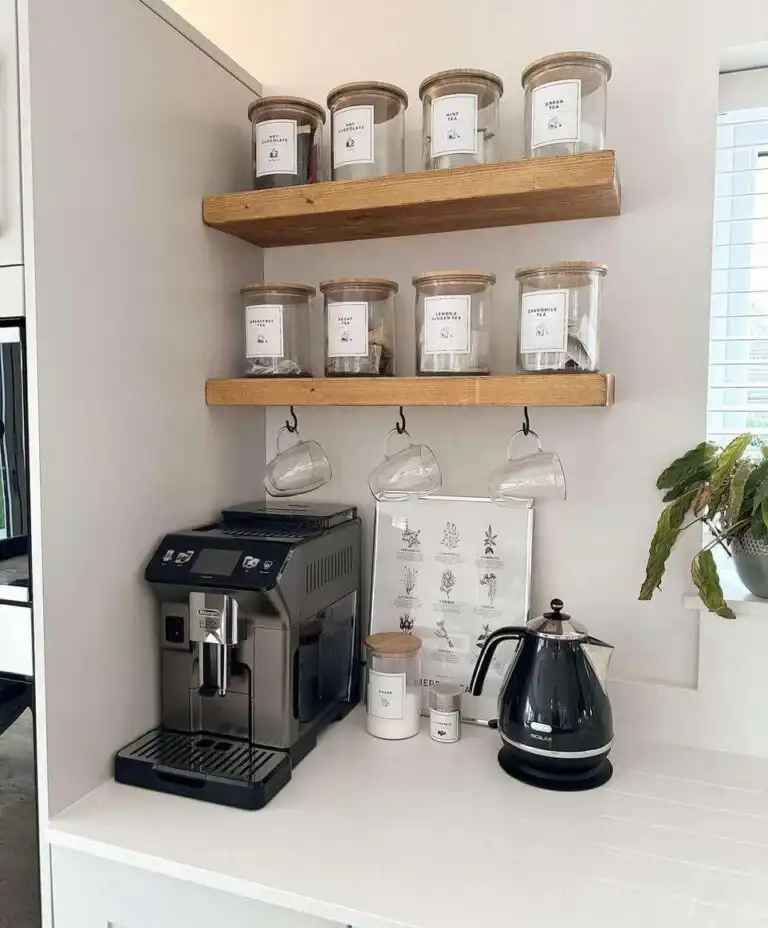
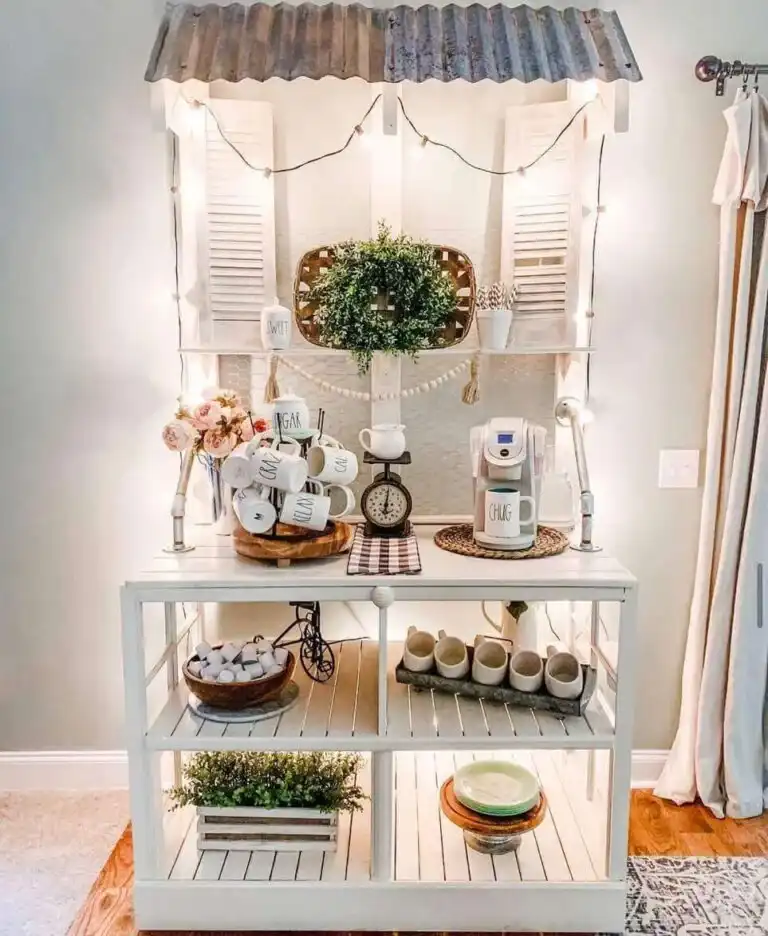
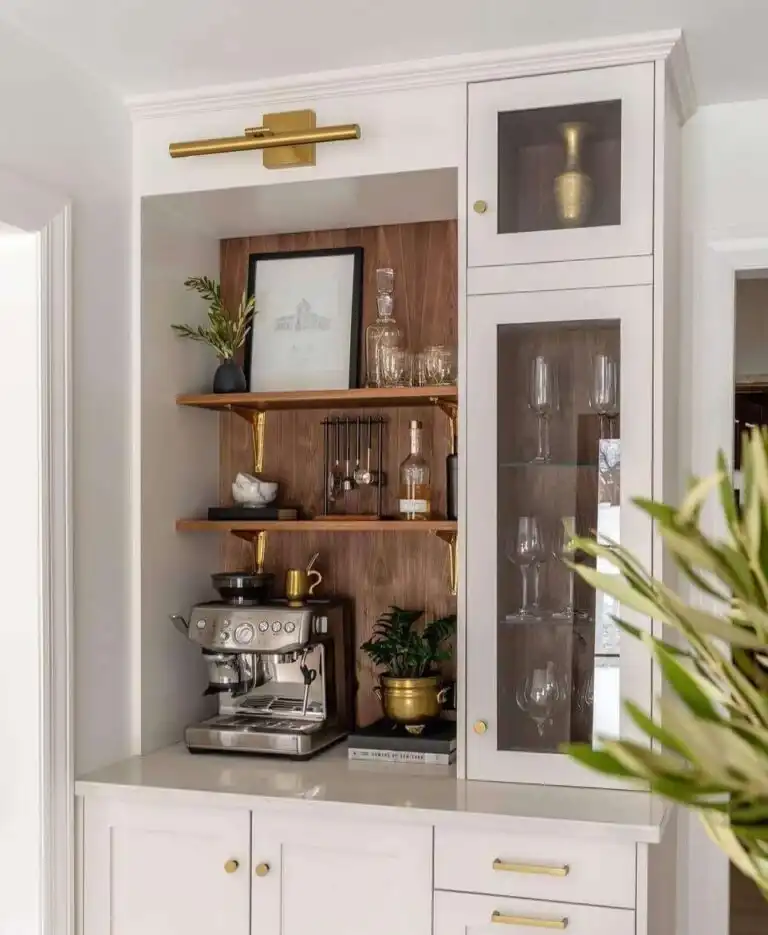
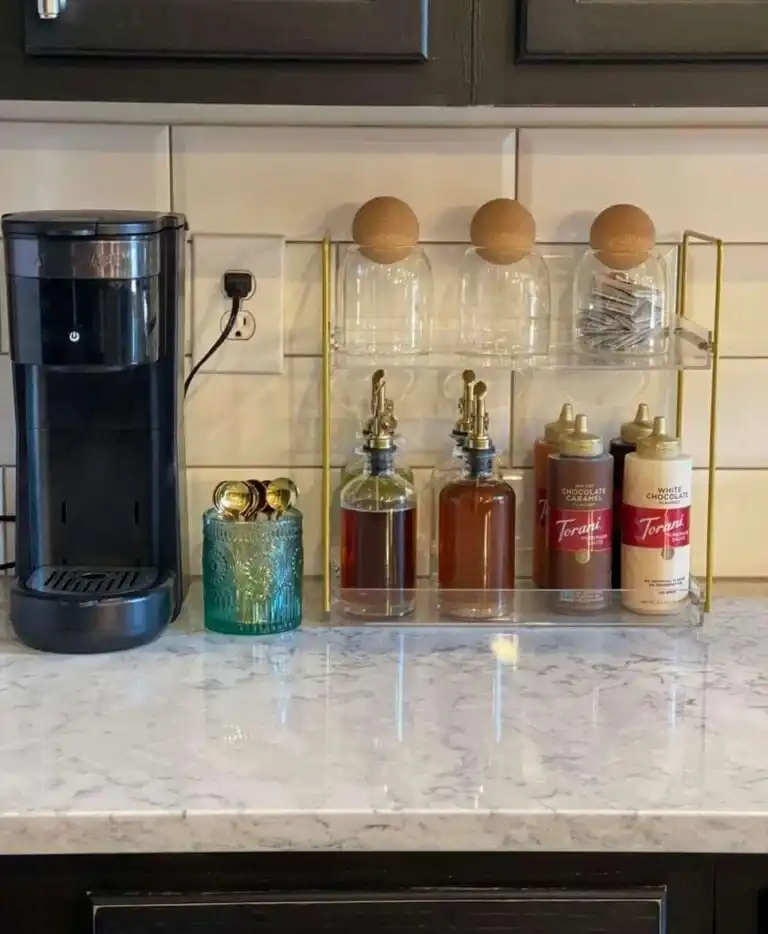
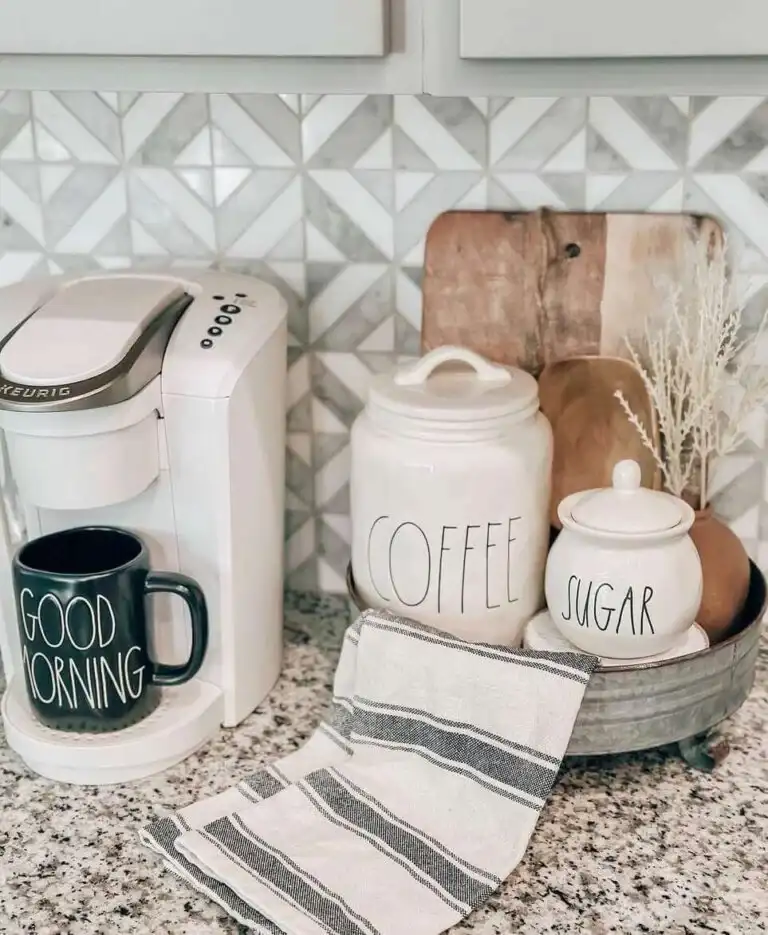
The goal is not to turn the kitchen into a minimalist showroom. Keep a small coffee station, a tray of everyday cooking essentials, or perhaps one plant if you like. Everything else should have a home inside drawers, cabinets, an appliance garage, or vertical storage.
Three Item Counter Rule
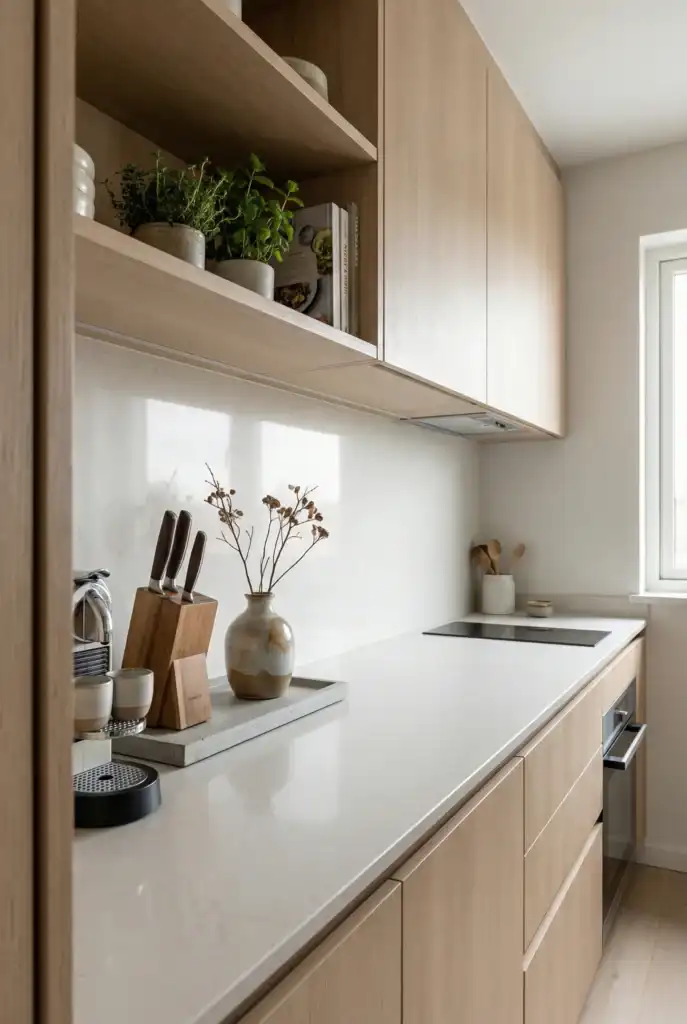
- What to do: Choose three categories that are allowed to remain on the countertop, such as coffee supplies, knives, and one decorative item.
- Why it feels bigger: Longer stretches of visible counter make the kitchen appear more spacious.
- Best for: Every small kitchen.
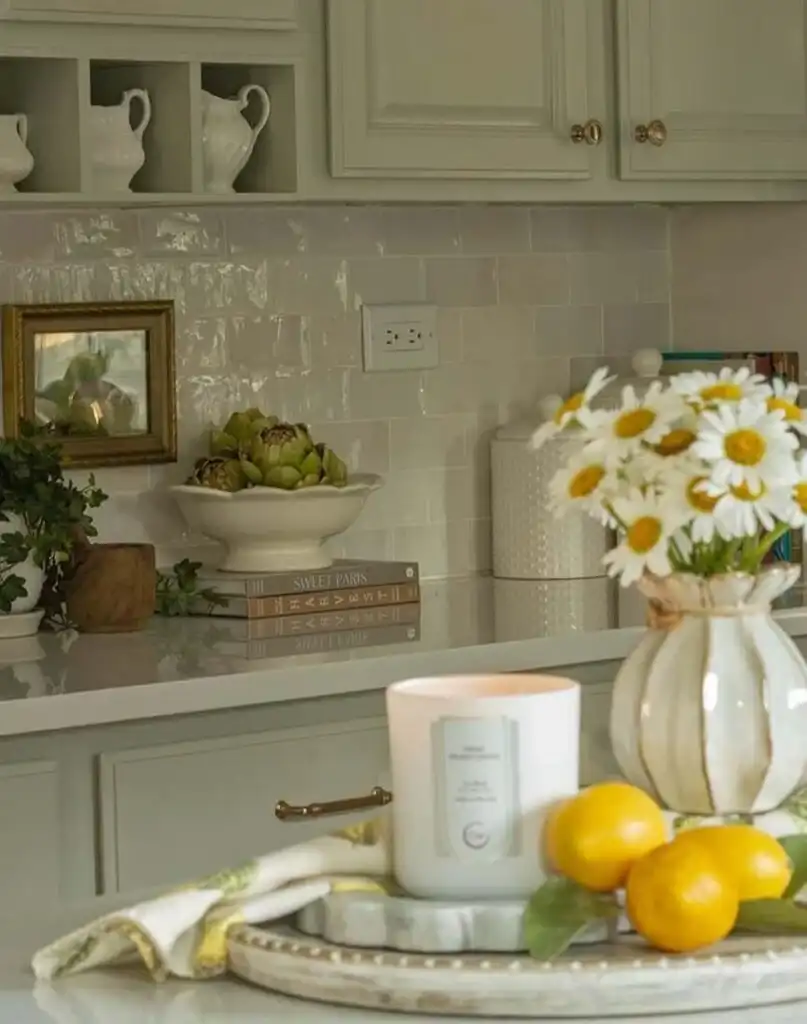
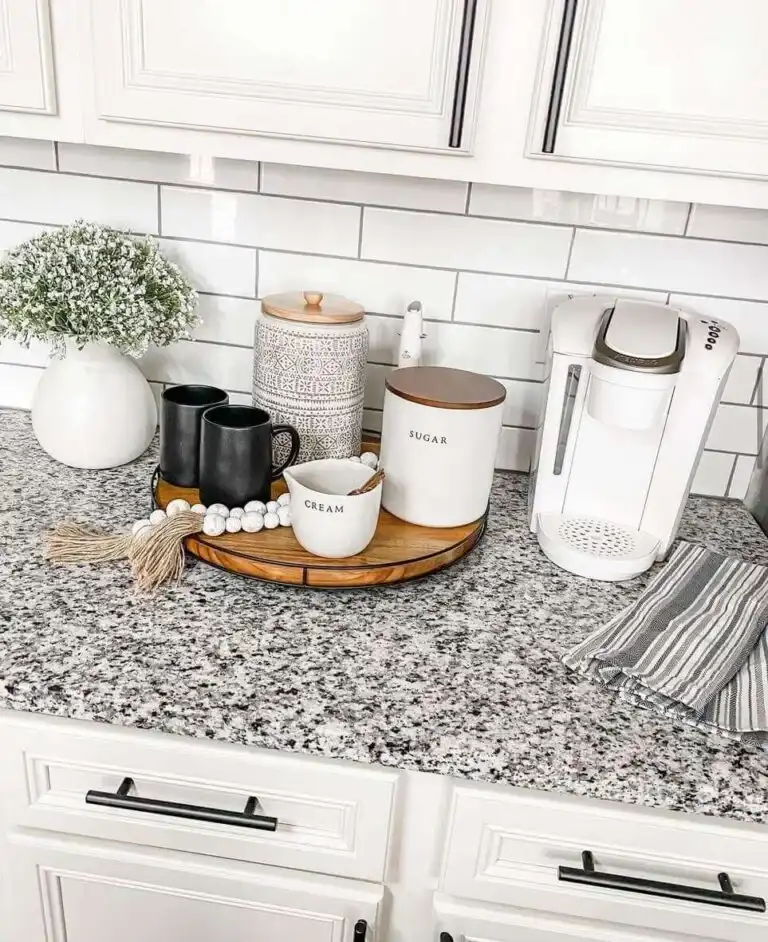
- If you rent: Keep your chosen items together on one attractive tray.
- Common mistake: Gradually adding more items until the rule disappears.
- Measurement rule: Try to keep at least 60 to 90 cm of uninterrupted preparation space clear.
One Chic Cooking Station
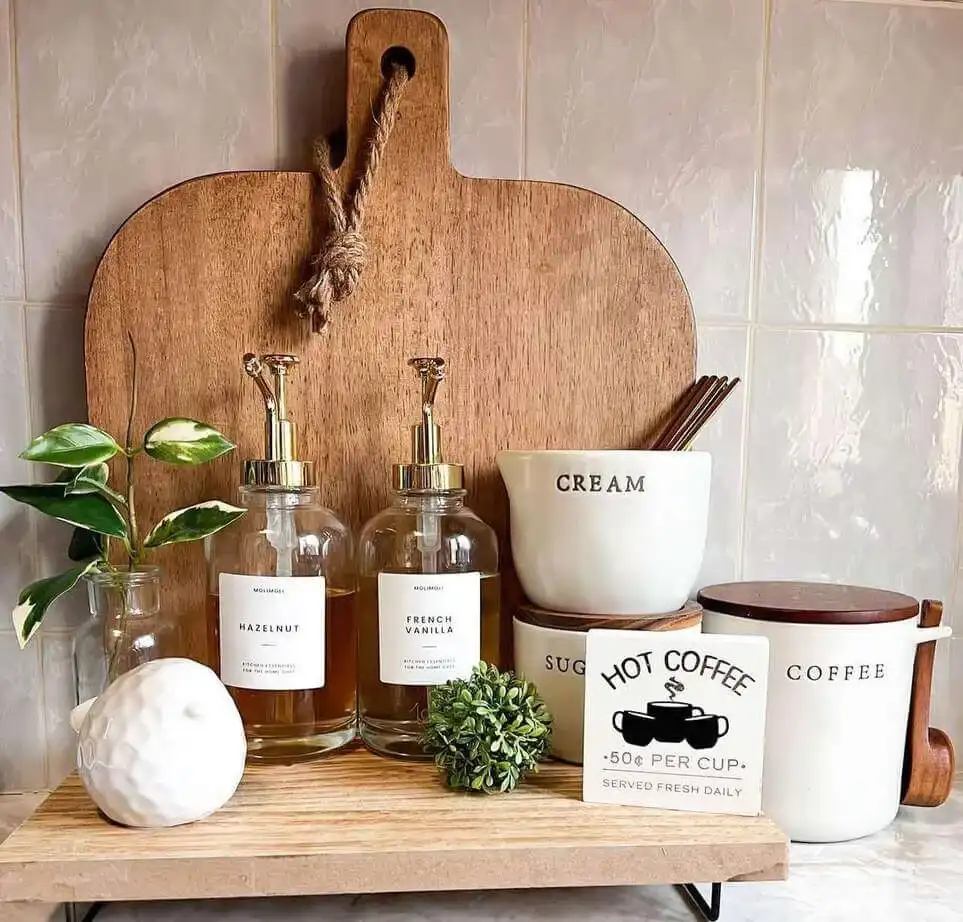
- What to do: Group everyday cooking essentials such as oil, salt, and utensils on a small board near the cooktop.
- Why it feels bigger: Grouping several items makes them look like one intentional station rather than scattered clutter.
- Best for: All layouts.
- If you rent: Use a cutting board with a few simple glass containers.
- Common mistake: Allowing bottles, packets, and containers to line the entire backsplash.
- Measurement rule: Keep the complete cooking station within roughly 30 cm.
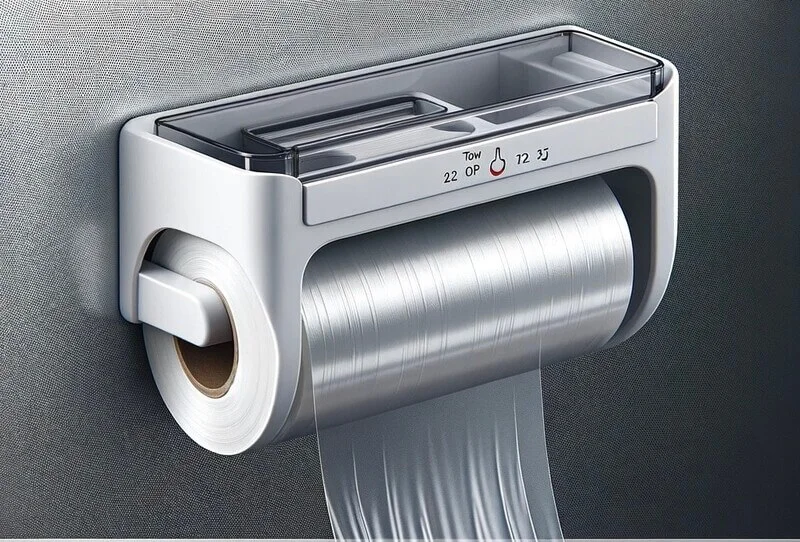
Compact Drying Gear
- What to do: Replace a large permanent dish rack with a fold-away rack or over-sink drying mat.
- Why it feels bigger: The counter beside the sink remains available for food preparation and other tasks.
- Best for: Galley and one-wall kitchens.
- If you rent: Choose a collapsible rack that can be stored beneath the sink when not needed.
- Common mistake: Leaving a large drying rack permanently on the countertop and losing valuable worktop space.
- Measurement rule: Aim to maintain around 30 to 45 cm of clear counter space beside the sink.